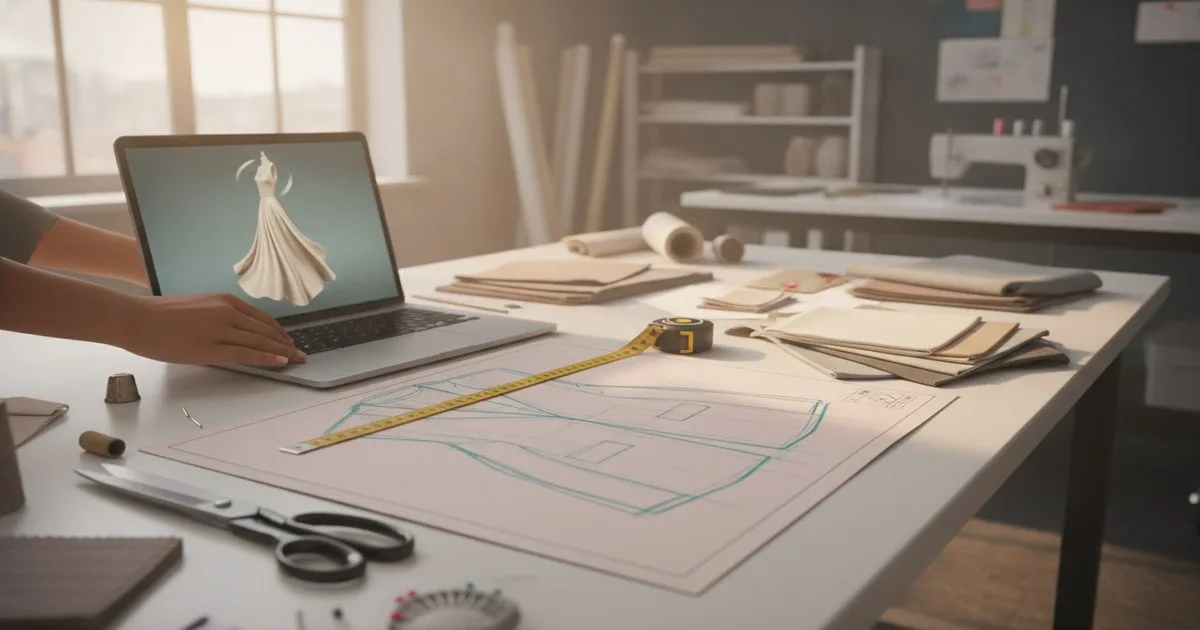
An AI image tool can produce a photorealistic jacket in under a minute. What it cannot do is tell your factory how to sew it. The gap between a rendered concept and a production-ready garment is real, it is wide, and it is almost never discussed in the same breath as the image that started the conversation. This article walks through every stage of that pipeline so your production team can set honest expectations — and so design stakeholders understand why "we have the image" is only the beginning.
Key takeaways
- An AI-generated fashion image carries zero construction information: no seam allowances, no grain lines, no material callouts, no tolerances.
- A tech pack is the non-negotiable translation layer between a concept and a factory floor — without it, manufacturers cannot quote, sample, or produce.
- Converting a concept to a production-ready DXF pattern requires a trained pattern maker; current AI tools assist but do not replace that judgment.
- Digital 3D sampling compresses the fit iteration cycle, but physical proto rounds are still required for most production categories.
- The full pipeline — tech pack, pattern, marker, fabric sourcing, proto, fit, QA — typically spans weeks to months, not days.
Why does an AI image tell factories so little?
Generative image models are trained to produce visually plausible output. They optimise for pixels, not for sewability. A rendered lapel may look sharp on screen but have no defined roll line. A gathered skirt may show beautiful drape without specifying the fabric weight that creates it. Research published in Frontiers in Artificial Intelligence notes that generating high-quality three-dimensional models of clothing that accurately reflect texture and fabric behaviour remains a challenging task for current generative models — and that each new iteration can differ significantly from the previous one, making convergence difficult.
For a production team, that instability is the core problem. A concept that shifts every time you prompt it cannot be handed to a patternmaker as a brief. You need a frozen, annotated specification — which is where the pipeline begins.
What does the production pipeline actually look like?
Think of the journey in six stages. Each one has inputs, outputs, and failure modes.
Stage 1 — Flatten the concept into a technical sketch
Before anyone writes a spec, someone has to translate the AI image into a flat technical drawing: front, back, and any relevant details. This is not the AI image cleaned up; it is a new document drawn to convention, with proportions that reflect actual body geometry rather than the model or avatar the image used.
This sketch becomes the anchor for every downstream document. If the sketch is ambiguous — a seam that could be interpreted two ways, a collar that is not fully resolved — that ambiguity compounds at every stage.
What can go wrong: Design approves an AI image that contains construction details that are physically impossible or prohibitively expensive. Catching this at sketch stage costs an hour. Catching it after the first proto costs a sampling round.
Stage 2 — Write the tech pack
A tech pack is the complete written and illustrated specification a brand sends to a manufacturer. It typically contains:
- A flat technical sketch (front, back, details)
- A bill of materials (BOM) listing every fabric, trim, label, and hardware component with supplier references
- A measurement specification table with all points of measure and tolerances
- Construction notes: seam types, stitch types, seam allowances, finishing methods
- Colourways and print/embroidery placement
- Labelling and packaging requirements
- Grade rules for each size in the range
A tech pack is what allows a factory to quote accurately, order materials, and produce a first sample without a phone call for every decision. Without one, you are not in production; you are in a conversation.
Tools like Techpacker give teams a structured environment to build and manage these documents — useful both for solo designers working on a single style and for growing brands that need to connect product data with manufacturer communication at scale.
What can go wrong: Incomplete BOMs lead to material substitutions you did not approve. Missing tolerances lead to fit failures that are technically within the factory's interpretation of your spec. Vague construction notes produce a sample that looks right but is sewn in a way that will not survive wash testing.
Stage 3 — Draft and grade the pattern
The tech pack describes what the garment should be. The pattern describes how to cut the fabric to make it. These are different documents, and the translation between them requires a patternmaker.
A production pattern is a set of flat pieces — each with grain lines, notches, seam allowances, and drill holes — that nest together on fabric with minimum waste. Patterns are typically stored and exchanged in DXF format, a CAD interchange standard originally defined under ASTM D6673 (now withdrawn, though the format remains the industry default).
Grading extends the base pattern across your size range. Each size is a separate set of pieces. A six-size range means six complete pattern sets, each verified for fit.
Recent research on what is called Textile IR — a proposed intermediate representation that connects manufacturing-valid CAD, physics-based simulation, and lifecycle assessment — illustrates exactly why this stage is hard to automate: pattern software can guarantee sewable outputs but understands nothing about drape, while physics simulation predicts behaviour but cannot automatically fix patterns. Bridging those two worlds still requires human judgment.
What can go wrong: A pattern drafted from an AI image without a proper block or sloper as a starting point will almost certainly fail the first fit. Grain line errors cause twisting. Missing notches cause misaligned seams at the factory.
Stage 4 — Create the marker
A marker is the arrangement of all pattern pieces for one or more sizes on a virtual representation of the fabric width. Marker efficiency — the percentage of fabric actually used versus wasted — directly affects your material cost. A poorly planned marker on an expensive fabric can make a style unprofitable before a single unit is sewn.
Marker making is typically done in CAD software and is closely tied to your fabric width, shrinkage allowance, and any directional constraints (nap, print repeat, stripe matching).
What can go wrong: Markers built without confirmed fabric width or shrinkage data have to be rebuilt when the actual fabric arrives. Print repeat constraints that were not flagged in the tech pack can make a marker dramatically less efficient than planned.
Stage 5 — Source real fabric and trims
An AI image implies a fabric. It does not specify one. The colour you see on screen is a rendered approximation; the texture is a shader, not a fibre. Sourcing the actual material that matches the design intent requires:
- Identifying the fibre content and construction (woven, knit, weight in GSM)
- Requesting lab dips or strike-offs against your colour standard
- Confirming shrinkage, stretch recovery, and wash performance
- Checking minimum order quantities against your production volume
Platforms like Swatchbook — now part of CLO Virtual Fashion's ecosystem — offer digital material libraries where brands and suppliers can share 2D and 3D fabric visualisations, which helps narrow the sourcing search before physical samples are ordered.
What can go wrong: The fabric that looks right in a digital render does not exist at the price point you need. Substituting a different weight or construction changes the fit and may require a new pattern. Long lead times on specialty fabrics can push your production start date by weeks.
Stage 6 — Proto, fit, and QA
The first physical sample — the proto — is sewn from your pattern in a fabric as close to production spec as available. It is not for approval; it is for learning. Fit sessions against your fit model or dress form reveal whether the pattern achieves the intended silhouette and ease.
3D digital sampling tools like Browzwear — which uses physics-based simulation to drape virtual fabric on a digital avatar — can surface obvious fit problems before the first physical proto is cut. This compresses the iteration cycle and reduces the number of physical rounds, but it does not eliminate them. Physical protos remain the standard for confirming hand feel, weight, and construction quality.
After fit is approved, a sealed sample is submitted for QA sign-off. This becomes the production reference. Every unit produced is measured and inspected against it.
What can go wrong: Fit approval is rushed to meet a calendar deadline, and construction issues that were flagged but not resolved appear in bulk production. QA criteria were not defined in the tech pack, so the factory and the brand disagree on what constitutes a defect.
How long does the full pipeline take?
There is no universal answer, but here is a realistic range for a single new style going through a standard development calendar:
| Stage | Typical duration |
|---|---|
| Concept freeze and technical sketch | 1–3 days |
| Tech pack (first draft) | 3–7 days |
| Pattern draft and grade | 5–10 days |
| Marker and fabric order | 3–5 days (overlaps with above) |
| First proto sewn and shipped | 2–4 weeks (factory dependent) |
| Fit review and corrections | 1–2 weeks per round |
| Sealed sample and QA sign-off | 1–2 weeks |
| Total (optimistic, one fit round) | 8–12 weeks |
This is why the industry conversation about AI in fashion is increasingly focused not on image generation but on the workflow connective tissue around it. Discussions at events like PI Apparel New York have centred on how digital product creation and connected workflows can solve real production problems — not on replacing the pipeline, but on making each stage faster and less error-prone.
What is still unsolved?
Being honest about the limits matters. As of now:
- AI cannot reliably generate a production-valid pattern from an image. The geometry of a rendered garment does not map cleanly to flat pattern pieces without human interpretation.
- Fabric simulation is not fabric. Digital drape is a useful proxy; it does not predict how a specific mill's fabric will behave after five washes.
- Grade rules require body data. Grading a pattern accurately requires a size chart grounded in real measurements for your target customer, not a generic default.
- AI-generated images can imply construction that is not commercially viable. A seam detail that looks elegant in a render may require hand-finishing that is not costed into any price point.
The broader industry is aware of the gap. Reporting from Just Style noted that trust, governance, and readiness are struggling to keep pace with fashion's AI ambitions — a fair summary of where most production teams find themselves.
What your team can do right now
- Establish a concept freeze gate. No tech pack work starts until the AI concept is approved and frozen. Iteration after this point is a change order, not a revision.
- Build a spec checklist into your brief template. Every AI concept handed to production should arrive with a fabric direction, a target price point, and any known construction constraints.
- Use digital sampling early, not as a final check. Running a concept through a 3D simulation environment before the tech pack is finalised catches proportion and silhouette problems cheaply.
- Define QA criteria in the tech pack, not after the proto. Defect classifications, measurement tolerances, and acceptable variation should be agreed before sampling begins.
- Track your pipeline stage by stage. If you cannot see where a style is at any given moment — tech pack in progress, pattern pending, proto in transit — you cannot manage the calendar.
FAQ
What is the biggest mistake teams make when moving from an AI concept to production? Starting the tech pack before the concept is fully resolved. Every ambiguity in the brief becomes a decision the patternmaker or factory makes without you — and those decisions are rarely the ones you would have made.
Can AI generate a pattern directly from an image? Not reliably for production use. Current tools can assist a trained patternmaker, but the output requires review and correction. The geometry of a rendered image does not translate directly into sewable flat pieces without human judgment.
What is a DXF file and why does it matter? DXF is the standard file format for exchanging 2D pattern pieces between CAD systems in apparel. It carries the geometry of each pattern piece — seam lines, grain lines, notches — and is what factories and pattern-making software read. An AI image has no DXF equivalent.
How many proto rounds should we budget for? For a new silhouette with no existing block to work from, budget two to three rounds. For a style that adapts an existing block, one to two is realistic. Rushing to one round to save time often costs more in bulk corrections.
Does 3D digital sampling replace physical protos? Not entirely. Digital sampling is excellent for catching silhouette, proportion, and obvious fit problems early. Physical protos are still required to confirm fabric hand, weight, construction quality, and wash performance before production sign-off.
What should a tech pack always include that teams often forget? Wash care and labelling requirements, and a clear definition of what constitutes a defect. Both are easy to omit and both cause disputes at the QA stage.