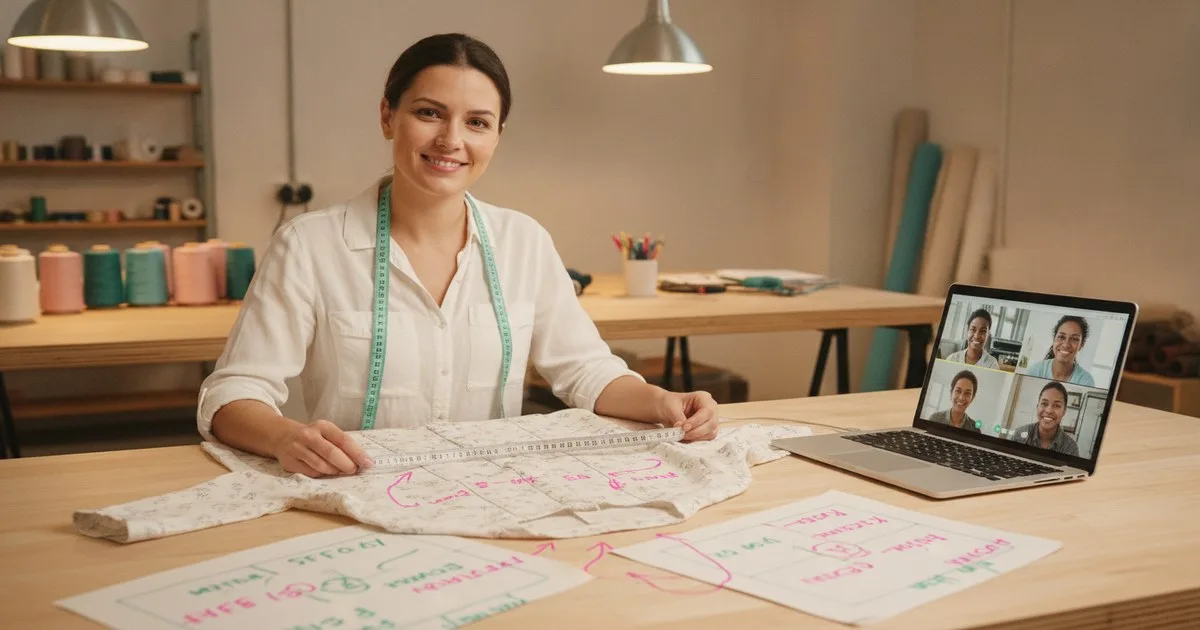
A sample review call with an overseas factory is only as useful as the preparation behind it. When you show up with annotated photos, a measurement deviation log, and a clear agenda, you leave with a numbered action list your factory can act on the same day. When you don't, you spend the next week answering follow-up messages and watching your revision cycle stretch.
Key takeaways
- Prepare annotated sample photos and a measurement deviation log before the call — not during it.
- Structure your agenda in three blocks: measurements first, construction second, colour and material third.
- Every comment must include a location reference, a description of the issue, and a specific corrective action.
- Assign a comment number to each item on the call; your factory should read them back before you close.
- Log all agreed actions in your tech pack or PLM system the same day so nothing falls between the cracks.
What do you need before the call?
Gather everything below before you schedule the meeting. Arriving without these is the single biggest cause of vague feedback.
- The approved tech pack — the version your factory worked from, not a later draft.
- The original measurement spec with tolerances marked per point of measure.
- Physical sample in hand — measured flat, on a dress form, or on a fit model before the call.
- Annotated photos — front, back, side, and any detail shots (collar, cuff, pocket, seam finish). Number each photo.
- Measurement deviation log — a simple table: point of measure / spec / actual / variance / in or out of tolerance.
- Comment template — a blank numbered list with fields: location, issue, action required, priority (must-fix vs. nice-to-have).
- Your tech pack software open — Techpacker lets you attach photos and deviation notes directly to spec sheets so the factory sees exactly what you're referencing.
- A shared screen or video link — the factory needs to see your annotated photos in real time.
- A note-taker — never run the call solo. One person talks; one person logs.
Before you book the call: confirm the factory has the same sample in front of them, not a different colourway or size. Mismatched samples waste the entire session.
Step 1 — Send a pre-call pack at least 24 hours ahead
Email the factory your annotated photos and measurement deviation log the day before. Label every photo with the comment number it corresponds to (Photo 01 = Comment 01). Include the agenda so they can prepare their own questions.
A factory that has seen your photos in advance can pull the relevant pattern pieces, check their cutting records, and brief the sample room — instead of doing all of that live while you wait.
Expected result: the factory arrives with answers, not just questions.
Step 2 — Open the call with a two-minute scope statement
State the sample name, colourway, size, and development stage (first proto, second proto, pre-production). Confirm both sides are looking at the same sample. Name the three agenda blocks — measurements, construction, colour and material — and give a time allocation for each (a 60-minute call works well as 20 / 25 / 15).
This sounds obvious, but skipping it is how calls drift into open-ended conversation and end without a clear action list.
Expected result: everyone knows what the call will and won't cover.
Step 3 — Work through measurements first
Share your measurement deviation log on screen. Go point by point: read the spec, read the actual, state whether it is in or out of tolerance. For any point outside tolerance, ask the factory to confirm they see the same measurement on their end before you log a corrective action.
Common causes worth asking about:
- Shrinkage — did the sample go through a wash cycle before measuring?
- Seam allowance errors — check against the tech pack seam allowance spec.
- Grading jumps — if this is not a base size, confirm the grade rule was applied correctly.
- Fabric relaxation — some wovens need 24 hours flat before measuring.
For each out-of-tolerance point, log: Comment number / Point of measure / Spec / Actual / Variance / Action (e.g., "increase back length by 1.5 cm at CB seam").
Tip: keep measurement comments strictly factual. "Back length measures 63.5 cm against a 65 cm spec" is actionable. "The back looks short" is not.
Expected result: a numbered list of measurement corrections with specific values attached to each.
Step 4 — Move to construction comments
Switch to your annotated photos. Reference each by number. For every construction issue, state three things: where it is ("left side seam, 5 cm above hem"), what the problem is ("seam is puckering due to differential feed"), and what you want done ("re-sew with reduced presser foot pressure; send a seam swatch before the next sample").
Typical construction items to check:
- Stitch type and SPI (stitches per inch) against spec
- Seam finish — serged, flat-felled, bound — matching the tech pack
- Topstitch placement and width
- Bartack position and count
- Interlining coverage and bond quality (press the area and check for bubbling)
- Label placement and attachment method
- Hardware — snap, button, zipper — function and alignment
- Pocket bag depth and attachment
For each item, assign a priority: Must fix before next sample or Preferred change — flag if it affects cost. Factories respond better when they know which comments are blockers.
Expected result: a construction comment list with location, issue, action, and priority for every item.
Step 5 — Cover colour and material comments last
Colour and material comments come last because they often require the factory to source input from a supplier, and you want them focused on the construction fixes first.
For colour: always reference against an approved lab dip or physical standard. "The body is reading warmer than the approved lab dip under D65 lighting" is a usable comment. "The colour looks off" is not. If you are working from a digital reference, state the colour space and the viewing conditions.
For material: check hand feel, weight, and weave against the approved fabric swatch. Note any pilling, snag risk, or finish inconsistency. If the fabric deviates from the approved mill and article number in the tech pack, flag it as a sourcing query — not a sample comment — and agree a separate follow-up.
Remote colour review caveat: camera white balance and screen calibration both affect how colour reads on a video call. Reserve final colour approval for a physical standard comparison whenever possible. Research on remote fit sessions notes that certain tactile and visual assessments — including colour and hand feel — remain difficult to replicate fully at a distance.
Expected result: colour and material comments logged with reference standards named, not subjective descriptions.
Step 6 — Read back and confirm before you close
Before ending the call, ask your factory contact to read back every comment number and its agreed action. This takes five minutes and catches misunderstandings before they become a wrong second sample.
Confirm:
- Total number of comments
- Which are must-fix blockers
- Expected turnaround for the next sample or swatch
- Who sends the written summary (you do — within two hours of the call)
Expected result: both sides leave with the same understanding of what changes and when.
Step 7 — Issue the written comment sheet the same day
Send a written comment sheet within two hours. It should contain every numbered comment exactly as logged during the call — no additions, no rewording. Attach the annotated photos. If your factory uses a PLM system, log the comments there directly so they sit against the correct development stage.
For teams managing multiple factories or SKUs, a PLM platform like Centric PLM — part of Dassault Systèmes — or WFX can hold the comment log, the photos, and the measurement deviation record in one place, linked to the correct tech pack version. Techpacker's platform similarly lets you attach revision notes to spec sheets and share them with your factory directly, which reduces the risk of comments getting lost in email threads.
Expected result: the factory has a single written reference they can hand to the sample room without interpretation.
Troubleshooting common problems
The factory says they measured differently. Agree on a measurement method in writing before the next sample. Specify: garment laid flat or on a dress form, seam allowances included or excluded, where the tape is placed for each point of measure. Attach the method to the tech pack.
Comments keep coming back unaddressed. Check whether your comment sheet is reaching the right person. The merchandiser on the call is not always the person briefing the sample room. Ask the factory to confirm who receives the written comments and who briefs the machinists.
The call runs over time and colour never gets covered. Time-box each block strictly. Set a shared timer. If measurements run long, defer non-critical colour comments to a follow-up email rather than letting the call drag.
The factory pushes back on a must-fix comment. Ask them to explain the constraint — pattern, fabric, machinery, or cost. Sometimes a comment is technically difficult for a reason you can work around. If the fix genuinely affects cost, agree a separate costing conversation; don't resolve it on the sample call.
Photos don't match what the factory sees on their sample. Confirm the sample reference number, colourway, and size. If they shipped more than one sample, ask them to hold up the correct one on camera before you start.
What success looks like
At the end of a well-run sample review call you have:
- A numbered comment list with zero vague descriptions
- Every out-of-tolerance measurement logged with a specific corrective value
- Priority flags on every construction comment
- Colour comments tied to a named physical or approved digital standard
- A confirmed turnaround date for the next sample or swatch
- A written comment sheet sent and acknowledged the same day
Brands that run calls this way consistently report shorter revision cycles and fewer "surprise" issues at the pre-production stage — because the factory has clear, documented instructions rather than a long email thread to interpret.
FAQ
How long should a sample review call with an overseas factory take? For a single garment with a moderate number of comments, 60 minutes is usually enough — 20 minutes on measurements, 25 on construction, 15 on colour and material. Complex styles or heavily revised samples may need 90 minutes. Book the time in advance so the factory can prepare.
What is the best format for sample review comments? A numbered table with four columns: location, issue description, corrective action, and priority. Each row must be self-contained — the factory should be able to act on it without referring back to you for clarification.
How do I handle colour approval on a remote call? Use the call to flag deviations against a named standard (lab dip reference, Pantone, or approved swatch). Reserve final colour sign-off for a physical comparison. Camera white balance and screen settings make definitive colour approval over video unreliable.
What should I do if the factory disputes a measurement? Don't resolve it on the call. Ask both sides to re-measure using the same method and share results in writing within 24 hours. If the dispute continues, agree a measurement method document and attach it to the tech pack going forward.
How many revision rounds should a proto sample go through before escalating? Two rounds is a reasonable expectation for a straightforward style. If you are entering a third round with the same comments recurring, escalate to a senior contact at the factory and review whether the tech pack itself needs clarification — repeated issues often point to an ambiguous spec rather than a factory error.
Further reading
- What Is a Tech Pack? The Complete Fashion Guide
- Game-Changing Benefits of 3D Digital Sampling — Textile World
- Fit Models' Roles in Identifying Fit Issues in the Apparel Technical Design Process