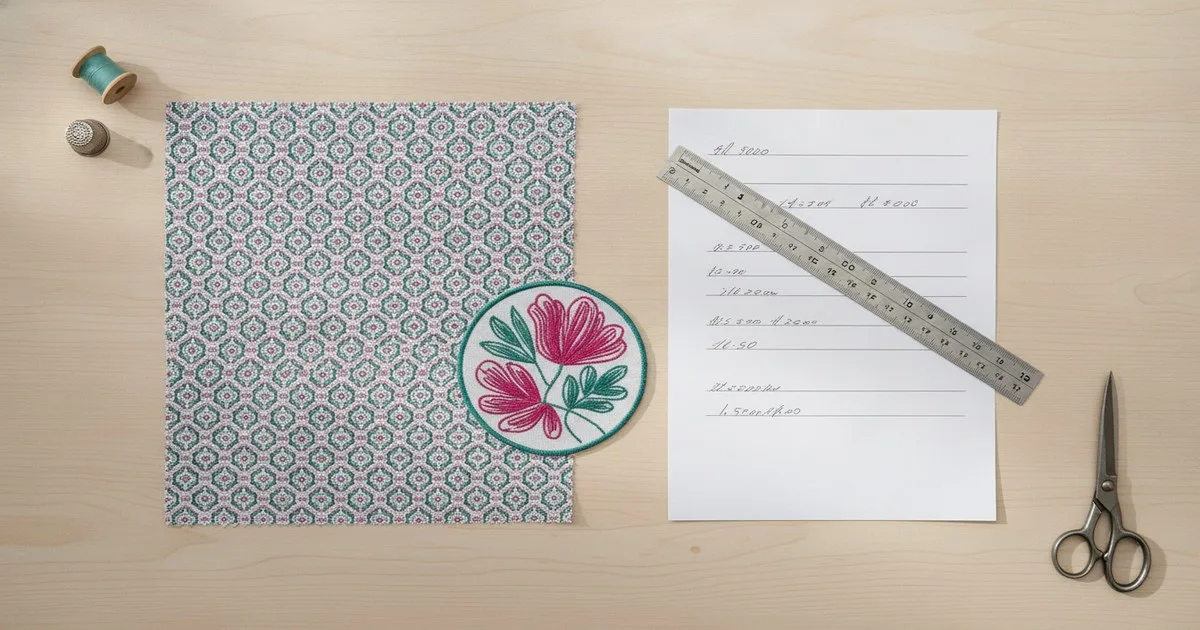
An artwork file tells a factory what a design looks like. It does not tell them how to reproduce it. Without a complete print and embroidery specification in your tech pack, you are relying on the factory to make decisions that belong to you — and those decisions show up as rejects, re-strikes, and missed launch windows.
Key takeaways
- An artwork file alone is never a complete specification; technique, colour reference, placement coordinates, and repeat size must all be documented separately.
- Colour references should cite a physical standard (such as a Pantone code) alongside the digital file, because screens and monitors vary between studios and factories.
- Embroidery specs require stitch type, density, and thread colour callouts — not just a visual of the finished design.
- A well-structured tech pack page for print or embroidery reduces sampling rounds and gives QC teams a measurable benchmark.
- Storing approved specs in a PLM system creates a single source of truth that both your team and your factory can query.
Why does the artwork file fall short?
A high-resolution print-ready file or an embroidery DST tells a machine what to stitch or print. It does not communicate intent: the technique you chose, the colour matching system you are working to, where exactly the motif sits on a size medium, or how the design should scale across a size run. Factories filling those gaps with assumptions is one of the most common causes of first-sample failures in decorated-apparel production.
A complete tech pack documents every decision the design team made so that the production team — whether in-house or at a vendor — can execute without guessing. For print and embroidery, that means a dedicated spec page (or pages) that sits alongside your construction details and your bill of materials.
What goes on a print spec page?
1. Print technique
State the technique explicitly: screen print, digital direct-to-garment (DTG), sublimation, discharge, foil, heat transfer, or another method. Each technique has different pre-treatment requirements, ink sets, and curing parameters. If you leave this blank, a factory with multiple print lines will route your job to whichever line is free — which may not be the one that produces the hand feel or opacity you approved in development.
If you have a preferred vendor or an approved printer for this technique, note it on the page. If the factory is free to choose, state that explicitly too.
2. Colour reference system
Digital colour values (RGB, CMYK, hex) are a starting point, not a standard. Monitors are calibrated differently across studios, and ink mixing is a physical process. For every colour in the print:
- Cite the Pantone Matching System (PMS) code, or the equivalent in your preferred physical fan deck.
- Note whether the reference is coated (C) or uncoated (U), because the same PMS number looks different on each.
- If the garment base colour affects the print (common in discharge or DTG on dark grounds), note the base fabric colour and its own reference.
- Include a swatch or colour chip scan in the tech pack where possible.
For embroidery, thread colour references follow the same logic. Specify the thread brand and colour number — Madeira, Isacord, and Robison-Anton each publish their own numbering systems, and a factory will default to whatever brand they stock unless you tell them otherwise.
3. Placement coordinates
This is where most spec pages break down. 'Centre chest' is not a placement spec. A placement spec gives a factory the measurements they need to position the artwork consistently across every unit in the run.
For each placement, document:
- Reference point: the fixed point from which you measure (e.g., centre of collar seam, top of shoulder seam, side seam at hem).
- X and Y offset: horizontal and vertical distance from the reference point to a defined corner or centre point of the artwork.
- Size of the artwork: finished print or embroidery dimensions at the base size (typically a size medium or size 10, depending on your size chart).
- Grading rule: how the placement and size change across the size run. Does the artwork stay the same size and shift position, or does it scale? State it.
If a garment carries more than one placement (front chest, back yoke, sleeve), give each its own set of coordinates. A bill of materials page that lists each placement as a separate line item — with its own cost — makes it easier to track both production and costing at the same time.
4. Repeat size and orientation (for all-over prints)
All-over and engineered prints need additional information:
- Repeat dimensions: width and height of one tile in centimetres or inches.
- Repeat type: straight, half-drop, mirror, or engineered (meaning the repeat is designed for a specific cut piece).
- Orientation: which direction is 'up' in the repeat, and whether the repeat can be rotated to reduce fabric waste.
- Bleed and registration marks: if the factory is cutting and sewing after printing, note how much bleed is included and where registration marks sit.
For engineered prints — where the motif is designed to land in a specific position on the finished garment — include a flat sketch overlay showing the print position relative to the seam lines.
5. Substrate and pre-treatment notes
Print technique and fabric interact. A DTG print on a 100% cotton jersey needs a different pre-treatment than the same print on a cotton-polyester blend. Sublimation only bonds to synthetic fibres. Discharge printing requires a reactive-dyed base fabric.
Note the fabric composition and construction on your print spec page, even if it already appears on your materials page. The print department may not read the full tech pack; give them what they need on their own page.
What goes on an embroidery spec page?
Stitch type and density
A finished embroidery file (DST, PES, or similar) encodes the stitch path, but the spec page needs to document the design intent in human-readable form:
- Stitch types used: satin stitch, fill stitch (tatami), running stitch, or a combination. Name them for each element of the design.
- Stitch density: the number of stitches per centimetre or inch for fill areas. Density affects hand feel, fabric distortion, and thread consumption. As Wilcom's embroidery documentation notes, density may need to change when you switch fabric or thread — which means your spec should note the approved density for the specific substrate in your BOM, not just the density in the original digitised file.
- Pull compensation: the amount of compensation built into the file to account for fabric distortion during stitching. Note this so that if the file is re-digitised for a different machine, the digitiser knows the target.
Backing and topping
Note the stabiliser (backing) type and weight, and whether a topping is required (typically for textured fabrics like fleece or terry, to prevent stitches sinking into the pile). These are consumables that affect the finished result and the per-unit cost.
Thread colour callouts
For each colour in the embroidery:
- Thread brand and colour number.
- Colour name (useful as a cross-check when the factory cannot source the exact brand).
- Nearest Pantone equivalent, so QC can assess a substitute thread against a physical standard.
List thread colours in the order they appear in the stitch sequence if the design has colour changes — this helps the machine operator set up the run correctly.
Stitch count
Include the total stitch count from the approved digitised file. Stitch count drives thread consumption, machine time, and therefore cost. If a factory re-digitises the design (which they may do to optimise for their machine type), the stitch count on the revised file should be reviewed against the original before approval.
How to organise these specs in your tech pack
Each print or embroidery placement should have its own row in your BOM and its own reference number. The spec page for that placement links back to the BOM row number, so costing and specification stay connected.
A practical page structure:
- Placement reference number and name.
- Flat sketch or photo showing the placement on the garment.
- Technique and substrate notes.
- Colour references (table: element name / colour reference / thread or ink code).
- Placement coordinates (table: reference point / X offset / Y offset / finished size at base size / grading rule).
- For embroidery: stitch types, density, stitch count, backing spec.
- Approved file name and version number.
- Approval status and date of last revision.
Where PLM fits in
Once a spec is approved, it needs to live somewhere both your team and your factory can access the current version. Emailing PDFs creates version-control problems fast — a factory working from an outdated file is a sampling problem waiting to happen.
Centric PLM is one platform production teams use to centralise approved tech pack pages, link them to the relevant BOM lines, and control which version a factory sees. When a spec changes — say, a thread colour is substituted after a sourcing issue — the update happens in one place and the factory is notified, rather than a corrected PDF being sent to an inbox that may or may not be checked.
For materials management alongside the spec, Swatchbook by CLO provides a cloud-based environment for managing and visualising digital materials, which can help align the fabric and trim records that underpin your print and embroidery specs with the broader materials library your design and sourcing teams are working from.
What still goes wrong, even with a complete spec
A complete spec page reduces risk; it does not eliminate it. Common failure points:
- File format mismatch: the factory's embroidery machines read a different format than the one supplied. Always confirm the required file format before sending the digitised file.
- Pantone availability: not every factory stocks every Pantone ink or thread. Build a substitution approval process into your workflow — the factory proposes an alternative, you approve or reject against the physical standard.
- Grading the embroidery: many brands specify a single embroidery size across all sizes. If you intend to scale the design, the digitised file needs to be re-digitised for each size, not just resized — scaling a stitch file distorts stitch density and registration.
- Spec drift: the approved spec and the approved sample diverge over multiple sampling rounds, and nobody updates the tech pack. Treat the spec page as a live document; version it every time a change is approved.
FAQ
What file formats should I send a factory for embroidery? Confirm the machine brand before sending. Common formats include DST (Tajima), PES (Brother), and JEF (Janome). Send the format the factory requests, and keep the original digitised source file (typically from the digitising software) so you can export to other formats if needed.
Do I need a separate spec page for every print placement on a garment? Yes, if the placements differ in technique, colour, or size. If two placements use identical specs and differ only in position, you can document both on one page with a coordinates table that lists each placement separately.
How do I handle Pantone colours that cannot be matched in embroidery thread? Thread manufacturers publish conversion charts from Pantone to their thread ranges. Use these as a starting point, then approve a physical thread sample against the Pantone chip under your standard lighting conditions before committing to a production run.
What is pull compensation in embroidery, and why does it matter? Pull compensation is extra width built into a stitch column to account for the fabric pulling inward as stitches tighten. Without it, satin stitch columns appear narrower than designed. The right amount depends on fabric stretch and stitch density; your digitiser sets it, and your spec should record the value used.
Should stitch count appear in the BOM? Yes. Stitch count determines thread consumption and machine time, both of which feed into the per-unit embroidery cost. Include it as a line-item note in the BOM alongside the embroidery placement it corresponds to.
What happens if a factory re-digitises our embroidery design? They may do this to optimise for their machine type. Require them to submit the revised file and a stitch-out sample for approval before production. Compare the stitch count and density against your approved spec, and check the visual result against the approved sample.
Further reading
- What Is a Tech Pack? The Complete Fashion Guide
- Tech Pack BOM: Bill of Materials Guide
- Adjusting Stitch Densities — Wilcom EmbroideryStudio Help