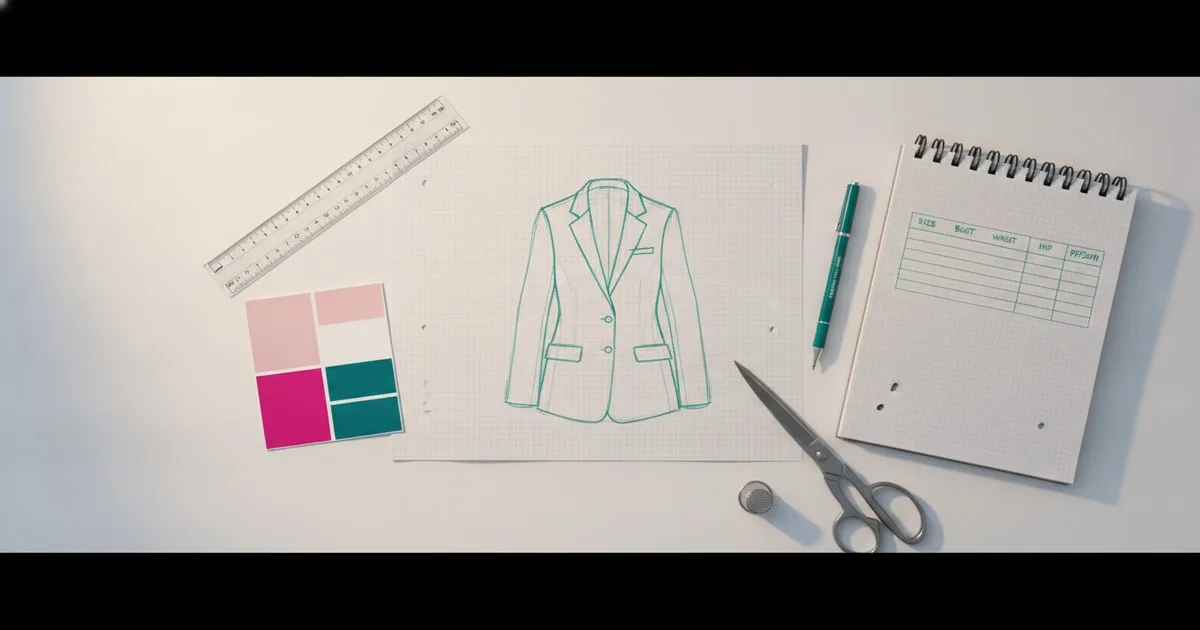
A concept image—whether a hand-drawn sketch, a mood-board crop, or an AI-generated render—tells you what a garment should feel like. It does not tell a factory how to build it. Turning that image into a complete tech pack is the single most important handover task in product development, and doing it methodically saves you rounds of costly sampling. This tutorial walks you through each stage, from the first flat sketch to a document your factory can actually work from.
Key Takeaways
- A tech pack is an industry-standard specification package containing drawings, measurements, materials, and construction instructions that manufacturers need to produce a garment.
- The flat sketch is the foundation of every tech pack—without clean front, back, and detail views, every downstream spec is ambiguous.
- Measurement tables must list finished garment measurements (not body measurements) at every size, with clearly named points of measure.
- Material callouts and a bill of materials must be specific enough that a factory can source or substitute with your approval—vague descriptions cause sampling errors.
- Structured tools such as Techpacker and Backbone PLM reduce manual formatting work and keep spec data connected to approvals and supplier communication.
What You Need Before You Start
Gather these before opening any template or software:
- The concept image — sketch, render, or reference photo, at the highest resolution available
- Brand fit standards — your graded measurement chart or a baseline size spec
- Fabric and trim information — fiber content, weight, construction, color references (Pantone or physical swatch)
- Construction references — any existing samples, seam-finish standards, or brand guidelines
- A tech pack template — a blank document or a template inside your chosen tool
- Style number and season — agreed naming convention so the factory record and your internal record match from day one
Before you start: Confirm with your design lead that the concept image is final, or at least frozen for this sampling round. Chasing a moving design while writing specs is one of the most common causes of rework.
Step 1: Extract the Design Intent from the Concept Image
Open the concept image alongside a blank document and list every visible design decision: silhouette, seam lines, pocket placement, collar type, closure, length, and any surface detail such as topstitching or pleats. Do this as a written list before you draw anything. If the image is an AI render, treat it as a mood reference, not a technical source—renders often distort proportions and hide construction logic.
At the end of this step you should have a plain-language description of the garment that a patternmaker could read without seeing the image.
Step 2: Draw Clean Flat Sketches
Convert your written list into technical flat sketches: a front view, a back view, and close-up detail views for any complex area (collar, cuff, pocket, placket). Flats must be proportionally accurate and show every seam line, topstitch, and hardware position. Draw them in a vector tool so lines stay clean at any scale.
Label each detail directly on the sketch with a callout number or letter that you will reference in the construction notes later. If your concept image shows a design detail that you cannot draw clearly—a complex drape, an unusual seam—sketch it from multiple angles or add a written description alongside.
Expected result: A set of flat sketches that a factory technical team can read without the original concept image in front of them.
Tip: Factories read flats, not renders. If your design team works primarily in 3D or AI tools, the flat sketch is still non-negotiable. It is the agreed record of what was designed.
Step 3: Build the Cover Page and Style Record
Create the front page of your tech pack. This is where the factory finds the basic taxonomy they need to file and retrieve the document correctly. Include:
- Product name and style number
- Season and year
- Colorways (with color codes)
- Target gender and size range
- Fabric category (woven, knit, denim, etc.)
- Revision number and date
If you are working in a PLM tool, this information often populates automatically from the product record. In Backbone PLM, for example, creating a product record simultaneously builds the front page of the tech pack, so the factory-facing document and your internal record stay in sync.
Expected result: A cover page that uniquely identifies this style and revision so there is no confusion at the factory about which version they are working from.
Step 4: Write the Measurement Specification
This is the most technically demanding section. You are specifying finished garment measurements—not body measurements—at each size in your range. ASTM D5585 provides standard body measurement tables for adult female misses sizes that you can use as a starting baseline when developing your graded spec, adjusting for your fit model, ease allowances, and styling.
For each point of measure (POM):
- Give it a clear name (e.g., "Chest — 1 inch below armhole, laid flat")
- Assign a number or code that matches your flat sketch callout
- Enter the measurement at your base size
- Enter the grade rule (how much it grows or shrinks per size)
- Note the tolerance (typically ±0.5 cm for most body measurements, tighter for critical areas like collar band)
Keep the table format consistent. If you are working in Techpacker, you can import an existing spec via CSV or build POMs manually inside the tool, which reduces transcription errors between your measurement sheet and the final document.
Expected result: A measurement table that a factory grader can work from directly, with no ambiguity about where each measurement is taken.
Warning: Never paste measurements from a body measurement chart directly into a finished garment spec without adding ease. A chest measurement of 92 cm on a body becomes something different in a relaxed-fit woven shirt versus a fitted knit top. Document your ease decisions explicitly.
Step 5: Write Construction Notes
Construction notes translate your flat sketch callouts into instructions. For each numbered callout, write:
- What it is (e.g., "Side seam")
- How it is sewn (stitch type, stitch length, number of needles)
- How it is finished (seam finish, pressing requirement)
- Any tolerance or quality standard (e.g., "Topstitch 1/4 inch from edge, even tension throughout")
Be literal. Factories work across language barriers and with multiple operators. A note that says "finish neatly" is not a construction note. A note that says "overlock with 4-thread safety stitch, press open, topstitch 6mm each side" is.
Group notes by garment section (body, sleeves, collar, closures, finishing) so the factory can cross-reference them against the relevant flat sketch panel.
Expected result: A construction section that a sewing supervisor can hand to an operator with no verbal explanation needed.
Step 6: Complete the Bill of Materials
A complete tech pack includes every material the factory needs to source or receive: shell fabric, lining, interlining, thread, labels, hardware, and packaging. For each item in your BOM, record:
- Item name and description
- Supplier name and reference code (if approved)
- Color and color code
- Quantity per garment (with unit: meters, pieces, sets)
- Placement
- Any approved substitutes
If your factory is sourcing materials locally, your BOM is their shopping list. If you are supplying materials, it is their receiving checklist. Either way, vague entries like "black zipper" will generate a clarification email and a delay.
In tools that support it, you can specify component variants—for example, different zipper pulls per colorway—so the factory knows exactly which combination applies to each order.
Expected result: A BOM that accounts for every physical component of the garment, with enough detail that the factory does not need to ask a single clarifying question about materials.
Tip: Attach physical swatch references or digital color standards wherever possible. Color names drift; codes and swatches do not.
Step 7: Assemble and Share the Document
With flats, measurements, construction notes, and BOM complete, assemble the full tech pack document. Choose which sections to include, how many images appear per page, and whether your BOM format is expanded (one row per component) or condensed (grouped by category). Number every page and include the style number and revision in the footer of every page—not just the cover.
Before sharing, do a final check:
- [ ] Every flat sketch callout has a matching construction note
- [ ] Every BOM item has a quantity and placement
- [ ] Measurement table has a grade rule for every POM
- [ ] Cover page revision number matches the document you are sending
- [ ] File name includes style number and revision
Share the document through a channel that creates a record: a PLM platform, a shared drive with version control, or a direct upload to your factory's portal. Avoid email attachments for anything beyond the first draft—version confusion is the single biggest cause of sampling errors.
Expected result: A single, clearly versioned document that your factory can open, read, and work from without a follow-up call.
Tools That Support This Process
The steps above can be completed with a vector drawing tool and a spreadsheet, but dedicated software reduces formatting work and keeps your spec data connected to approvals and supplier communication.
Techpacker
Techpacker offers a standalone tech pack editor aimed at independent designers and growing brands, plus an AI-powered PLM platform for teams that need to connect product data, factories, and approvals in one place. You can build POMs manually or import via CSV, attach images and swatches directly to spec rows, and generate a shareable PDF or factory link from the same record. It suits teams that want a structured spec environment without the overhead of a full enterprise PLM.
Backbone PLM
Backbone PLM, now part of Bamboo Rose, is a product lifecycle management platform targeting retailers managing private-label at scale and growing brands. It handles tech pack creation, approval workflows, and supplier collaboration in a single environment. The product record and the factory-facing tech pack are built from the same data, which reduces the risk of the two falling out of sync across revisions.
Centric PLM
Centric Software, part of Dassault Systèmes, ships an AI-powered PLM platform covering product development, planning, pricing, and product experience management across fashion and consumer goods. It suits larger organisations that need end-to-end lifecycle management beyond the spec document itself.
WFX
WFX (World Fashion Exchange) is a digital commerce services platform covering PLM and ERP functions for apparel businesses, with a particular focus on teams that need to manage both product development and order management in a connected system.
Troubleshooting Common Problems
The factory keeps asking questions the tech pack should answer. Go back to your construction notes and check whether every flat sketch callout has a literal, step-by-step note. "As per sample" is not a construction note if the factory does not have the sample in hand.
The first sample comes back with the wrong measurements. Check whether the factory measured the garment the same way you specified. Add a measurement diagram to your spec that shows exactly where each POM is taken, not just the name.
Different team members are working from different versions. Implement a version-numbering convention (v01, v02) and a single source of truth—whether that is a PLM platform or a named folder with a clear naming protocol. Never send a revised spec without incrementing the revision number on the cover page and in the file name.
The BOM is generating substitution questions. Add approved-substitute columns to your BOM so the factory knows which alternatives are pre-approved and which require sign-off before they can proceed.
The concept image keeps changing after the spec is started. Freeze the design before starting the spec, or maintain a change-log section in the tech pack that records what changed between revisions and why. This protects both sides when disputes arise.
What Success Looks Like
A well-built tech pack produces a first sample that matches the spec within tolerance on measurements, uses the correct materials, and requires only fit or aesthetic comments—not structural corrections. As NC State's Wilson College of Textiles notes in its industry curriculum, a tech pack is an industry-standard specification package that must contain everything from drawings and materials to prices and detailed construction guides, developed in a way that is understandable to the manufacturer. If your factory is asking structural questions after receiving your tech pack, the document is not yet complete.
FAQ
What is the difference between a tech pack and a spec sheet? The terms are often used interchangeably in practice. A spec sheet typically refers to the measurement and material summary; a tech pack is the full document that includes flat sketches, construction notes, BOM, and the spec sheet together.
How long does it take to create a tech pack from a concept sketch? For an experienced technical designer working on a straightforward style, a complete first-draft tech pack typically takes one to two days. Complex styles with multiple components or colourways take longer. The measurement table and construction notes are usually the most time-intensive sections.
Can I use an AI-generated render as the flat sketch in my tech pack? No. AI renders are perspective images that distort proportions and hide seam logic. You need a technical flat—a two-dimensional, proportionally accurate drawing—for the factory to work from. Use the render as a reference for design intent, then draw the flat from scratch.
How many sizes should I include in the measurement table? Include every size in your production run. If you are sampling in one base size, include the full grade table so the factory can confirm the grade rules before bulk cutting.
What happens if I send an incomplete tech pack to a factory? The factory will either make assumptions—which may not match your design intent—or send a list of questions that delays sampling. Either outcome costs time and money. A complete tech pack is the most efficient investment you can make before sampling begins.
Further Reading
- What Is a Tech Pack? The Complete Fashion Guide
- Backbone 101: How to Create Your 1st Tech Pack
- The Ultimate Guide to Tech Packs in Clothing