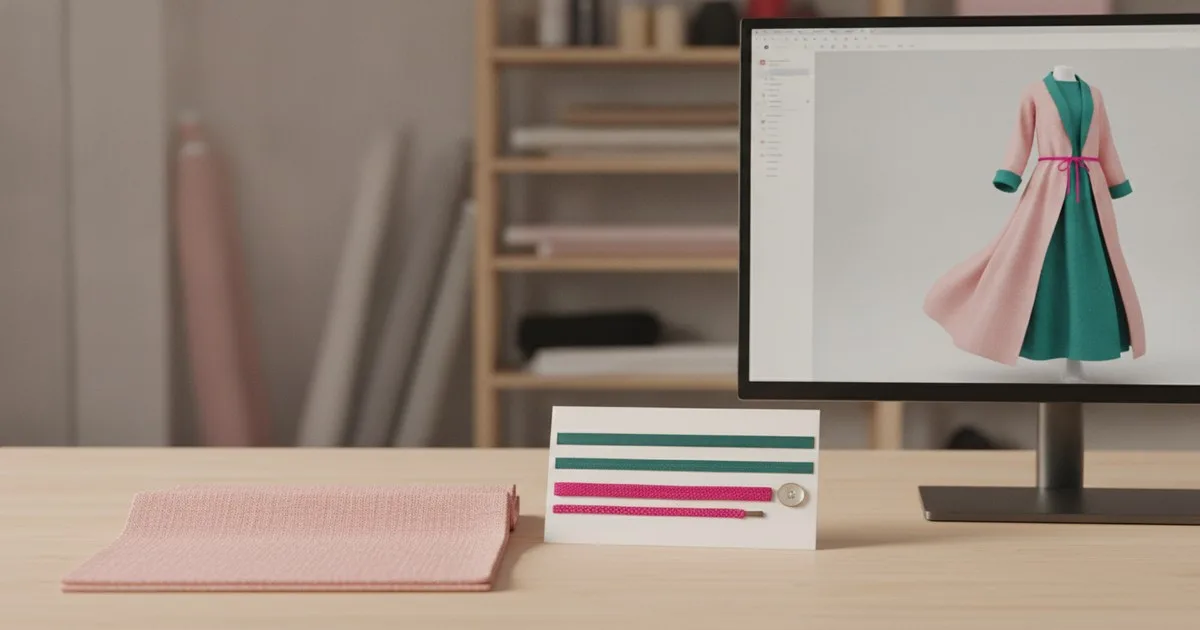
A 3D render shows your garment looking perfect: the drape falls exactly where the simulation placed it, the colour is clean, and the surface texture reads beautifully on screen. Then the approved sample arrives on set, and the photographer calls to say the fabric is doing something the render never suggested. That gap — between what the simulation promised and what the physical garment does — is the handover problem this article addresses.
Key takeaways
- 3D garment renders cannot communicate fabric hand, weight, or the drape variation that comes from dye-lot differences — those qualities only exist in the physical sample.
- Poor visual representation of real fabrics creates inaccurate customer expectations, which drives returns and textile waste.
- Fabric simulation relies on empirical physical property data; if that data was not captured from the actual production fabric, the render is modelling a different material.
- A well-structured shoot brief, anchored to the approved sample and its trim card, is the most reliable way to align marketing imagery with production reality.
- The handover document between your technical team and your creative team should travel with the sample — not sit in a PLM folder no one on set can access.
What does a 3D garment render actually model?
Before you can explain the gap to a creative director or a marketing manager, you need to be clear about what the simulation is and is not doing.
A physics-based 3D simulation — the kind produced in tools like Browzwear VStitcher — calculates how a virtual fabric behaves under gravity and movement by using a set of measured physical properties: tensile strength, bending stiffness, shear resistance, surface friction, and weight per square metre. The simulation engine uses those values to predict how the cloth will hang, fold, and respond to a body shape.
The critical word is measured. As an IEEE SA Industry Connections review of fabric property measurement for virtual simulation notes, fabrics are complex non-linear viscoelastic materials whose behaviour is difficult to describe and predict — their simulation depends entirely on empirical data from characterisation experiments. If the physical properties fed into the simulation were captured from a lab swatch, a supplier's reference sample, or last season's similar fabric rather than from the actual production roll, the render is modelling a material that does not exist in your warehouse.
High-resolution fabric scanning tools — Vizoo's xTex system, for example — can digitise the PBR (physically based rendering) surface appearance of a real fabric with considerable accuracy, capturing how light interacts with the weave structure. What they produce is a faithful visual representation of the material's surface. What they cannot encode is how that fabric feels in the hand, how it responds to a customer pulling it from a shelf, or how it behaves after a wash cycle.
Those two things — visual fidelity and tactile reality — are not the same, and conflating them is where handover breaks down.
What the image genuinely cannot show
Fabric hand and weight
Hand — the tactile quality of a fabric — has no visual equivalent. A lightweight georgette and a medium-weight crepe can be rendered to look almost identical on screen. In the hand, they are completely different objects. A customer who buys based on a render that suggests fluid drape and receives a fabric that feels stiff or papery has been misled by the image, even if the image was technically accurate to the simulation inputs.
Research into virtual fabric perception confirms this directly: lighting and material characteristics are major indicators of fabric look and feel, and disparities between online images and real-world tactile experience are a known driver of customer disappointment and returns.
Dye-lot drape variation
Dye lots introduce variation that no pre-production render can anticipate. A fabric that was scanned and simulated from a strike-off may behave differently once it has been bulk-dyed, finished, and wound onto a production roll. The finishing process — calendering, sanforising, resin treatment — changes hand and drape in ways that are not captured in the original simulation data. Two rolls from the same dye lot can vary enough to affect how a garment photographs.
This is not a failure of the simulation software. It is a structural limitation: the render was made before the production fabric existed.
Fit variation across the size run
A 3D render is typically produced on a single avatar at a single size — usually the fit model size used for the proto or the SMS. The approved sample is graded from there. What the render cannot show is how the garment behaves at the top and bottom of the size run: where ease becomes excess, where a seam line shifts relative to a body landmark, or where a collar that sits flat on a size 10 avatar starts to gap on a size 18 body.
Marketing imagery that shows only the fit-sample size, without any reference to how the graded sizes perform, creates a PDP image that is accurate for one customer and potentially misleading for everyone else.
Surface behaviour under real lighting
Render engines simulate light mathematically. A studio shoot uses real light bouncing off real surfaces, including the texture irregularities, slubs, and pile directions that exist in the physical fabric but were averaged out during digitisation. Fabrics with a nap — velvet, brushed fleece, corduroy — are particularly vulnerable to this gap: the render may show a uniform surface while the real garment changes colour and texture depending on which direction the camera is pointing.
Why this matters for PDP accuracy
The connection between visual representation quality and commercial outcomes is well established in the industry. Poor fidelity in visual representation of real fabrics can set up inaccurate expectations that result in returns and excessive textile waste — a pattern that affects both brand reputation and sustainability metrics.
From a production standpoint, the damage is compounded when the marketing team has no reference point other than the render. If the shoot brief does not include the approved sample, the trim card, and a set of notes from the technical team about how the garment actually behaves, the photographer and stylist are working blind. The images they produce may look good in isolation while being systematically inaccurate to the product.
How to build a shoot brief that reflects the approved sample
This is the practical part. The goal is to give the creative team enough technical context to make decisions on set that keep the imagery honest.
What you need before you write the brief
- The approved sample (the actual SMS or TOP, not a proto)
- The trim card from the approved sample, including fabric composition, weight, and finish
- The fit comments from the final fit session, noting any known issues at the fit size
- The graded spec sheet, with key measurements at the sizes being shot
- Any known dye-lot or finishing notes from the production team
- The 3D render, clearly labelled as a reference render rather than a product image
Step 1: Document what the render does not show
Write a one-page technical note — call it the sample reality brief — that travels with the garment to the shoot. It should cover:
- Hand and weight: describe the fabric in plain language. Is it fluid or structured? Does it cling or hold shape? What does it do when you shake it?
- Drape behaviour: where does the garment fall naturally? Are there areas where the fit model will need to adjust posture to show the garment at its best?
- Known fit considerations: if the shoulder seam sits slightly forward on the fit model, say so. If the hem rides up when the model raises her arms, the photographer needs to know before the shot, not after.
- Nap or surface direction: if the fabric has a pile or a directional finish, specify which direction all garments on the rail should be hung and how the camera should approach them.
Step 2: Align the shoot direction with the technical spec
The shoot brief should reference the key measurements from the graded spec, not just the styling preferences of the creative director. If the garment is designed to have 4 cm of ease at the chest, the styling on set should not pin it to the body — that changes the silhouette the customer will receive.
Specify:
- Which size(s) are being shot and why
- Whether any additional sizes need to be represented for size-inclusive PDP imagery
- Which views are required (front, back, side, detail) and what each view is meant to communicate technically
- Any angles or poses that would misrepresent the garment's actual fit or drape
Step 3: Create a render-to-reality comparison checkpoint
Before the shoot, put the approved sample on the fit model alongside the reference render on a monitor. Walk through each required shot angle. Note where the real garment diverges from the render and decide — as a team — whether the divergence is acceptable or whether the shot needs to be adjusted to reflect reality.
This checkpoint should be documented. A simple table with three columns — render view, sample behaviour, shoot decision — gives you a record that protects both the technical team and the creative team if questions arise later.
Step 4: Write the post-shoot handover note
Once the shoot is complete, the production team should receive a brief note confirming which images were approved and flagging any styling decisions that were made on set that differ from the technical spec. This closes the loop: the next time this garment (or a similar one) goes to market, the team has a reference for what worked and what created problems.
A note on 3D asset pipelines and their role in marketing
Platforms like Vntana allow brands to publish interactive 3D assets directly to e-commerce, letting customers rotate and inspect a garment from multiple angles. This is genuinely useful for communicating construction details and silhouette — things that a single static photograph can obscure.
But the same limitation applies: the 3D asset reflects the simulation inputs, not the production fabric. A brand using 3D assets for PDP should apply the same sample-reality brief discipline — documenting where the asset diverges from the physical product and deciding how to handle that gap in the customer-facing presentation.
The goal is not to make 3D assets look less good. It is to make sure the customer's expectation, set by the asset, is one the physical product can meet.
What is still unsolved
Honestly: the tactile gap. No current rendering or scanning technology can communicate fabric hand to a customer through a screen. Tools for fabric digitisation are improving rapidly — systems like Vizoo's physX platform now enable faster physical property acquisition, which means simulation inputs can be closer to the production fabric than they were a few years ago. But the output is still a visual and kinetic simulation, not a tactile one.
The industry is also still working out how to handle dye-lot variation systematically. Most brands treat it as a production quality issue rather than a marketing accuracy issue, which means the creative team rarely receives information about finishing variation in time to adjust a shoot brief.
Those two gaps — tactile communication and dye-lot transparency — are where the next round of workflow improvement is likely to happen. Until they are closed, the sample-reality brief remains your most reliable tool.
FAQ
Why does a 3D render look different from the real garment even when the fabric was scanned? Scanning captures the surface appearance of a fabric at the moment of scanning — typically from a lab swatch or a supplier reference. The production fabric may have been finished differently, dyed in bulk, or wound under different tension, all of which change how it drapes and reflects light. The render is accurate to the scanned sample, not necessarily to the production roll.
Can physics-based simulation replace a real fit session before a marketing shoot? Not fully. Simulation is valuable for early-stage fit validation and reducing physical samples, but it models a virtual body at fixed measurements. A real fit session on a human fit model reveals how the garment responds to movement, posture variation, and the specific proportions of the person wearing it — information the simulation cannot replicate.
What should a shoot brief include that a standard creative brief does not? A shoot brief for a garment should include the approved sample's fabric composition and weight, fit comments from the final fit session, any known dye-lot or finishing notes, graded measurements for the sizes being shot, and a note on surface direction if the fabric has a nap. Most creative briefs omit all of this.
How do I handle size representation in PDP imagery when the render was made at one size? Document which size the render represents and which size(s) are being shot. If the brand shoots only the fit-model size, note in the brief which fit considerations apply at other sizes. Where possible, shoot at least one additional size to give customers a more accurate reference.
What is the fastest way to close the gap between a render and a real shoot? Put the approved sample and the reference render side by side before the shoot begins. Walk through each required angle with the photographer and stylist, note the divergences, and decide how to handle them. That checkpoint takes twenty minutes and prevents hours of post-shoot corrections.
Further reading
- Digital fabrics for online shopping and fashion design — Frontiers in Virtual Reality
- Evaluating Expected Real-World Tactile Experience From Virtual Fabric Perception — RIT Scholar Works
- The Measurement of Fabric Properties for Virtual Simulation — IEEE SA Industry Connections