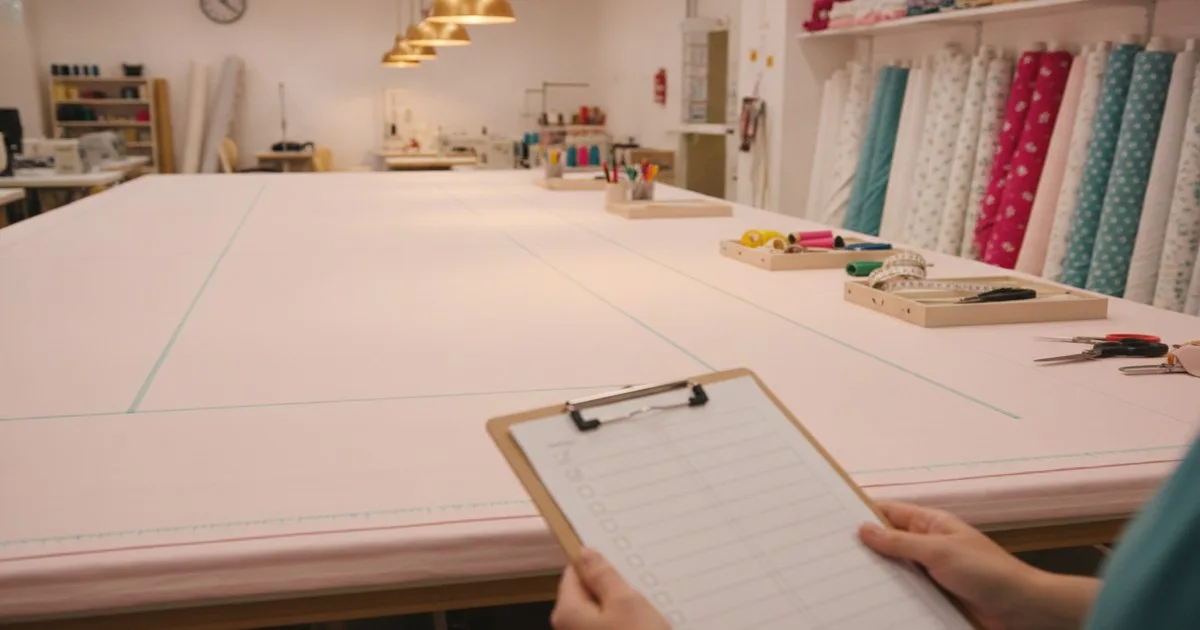
Bulk cutting is the point of no return. Once the fabric is spread and cut, any error in the approved sample, the marker, or the trim spec becomes an expensive problem to unwind. A structured pre-production checklist gives you and your team a shared, auditable gate to clear before authorising the cutting room to proceed.
Key takeaways
- Skipping a pre-production gate check is one of the most common causes of rework and late shipments in garment manufacturing.
- Around 20% of garment defects trace back to fabric defects that a proper fabric inspection would have caught before cutting.
- A finalised, buyer-approved tech pack is the single source of truth for every item on this checklist.
- Compliance documents and test reports must be in hand before cutting, not chased after the fact.
- A physical line sample displayed on the production floor reduces misinterpretation by operators and auditors alike.
Why does a pre-production checklist matter?
Production managers carry a lot in their heads. A checklist is not a sign of distrust — it is a forcing function that makes implicit knowledge explicit and shareable. When a new line manager steps in, or when a factory is running three styles simultaneously, a written gate check prevents the kind of 'I assumed someone else confirmed it' errors that show up as defects at final inspection.
The checklist below covers twelve areas. Some will take thirty seconds to verify; others — fabric inspection results, for instance — require lead time to arrange. Build that lead time into your critical path, not as an afterthought.
The 12-point pre-production checklist
1. Buyer-approved pre-production sample (PPS) signed off
Confirm that the pre-production sample has been physically approved by the buyer or their QA representative, and that the approval document — with signature, date, and any comments — is filed and accessible to the cutting room supervisor. An oral approval is not enough. If comments were raised on the PPS, verify that each one has been actioned and re-confirmed.
2. Final tech pack — current revision, no open comments
A tech pack is the master document for the style: construction details, measurements, stitch types, colourways, label placement, and packaging instructions. Before cutting, check that:
- The revision number on the factory floor copy matches the buyer-issued version.
- There are no open change requests or pending comments.
- The tech pack includes a completed bill of materials (BOM) with trim codes, colourway references, and supplier names.
A tech pack with unresolved comments is not a final tech pack. Do not cut against a draft.
3. Approved fabric — correct construction, colour, and quantity
Verify that the bulk fabric received matches the approved lab dip or strike-off in colour, and the approved swatch in construction (weave, weight, and finish). Check the delivery note against the purchase order quantity and allow for the shrinkage and wastage percentage stated in your marker plan.
4. Fabric inspection results reviewed and accepted
Fabric inspection is not optional. Around 20% of garment defects are associated with fabric defects, and catching them before cutting is far cheaper than catching them in a finished garment. Your inspection report should cover:
- Colour consistency across rolls (metamerism check under different light sources)
- Width and weight measurements against spec
- Defect mapping per roll using the four-point or ten-point system
- Shrinkage after washing or steaming, if applicable
Rolls that fail your acceptance criteria should be quarantined and flagged to the supplier before you proceed. Never cut from a roll with an open defect query.
5. Fabric relaxation and pre-shrinking complete
Knitted fabrics in particular need time to relax after being unwound from the roll. Woven fabrics that will be washed in the finished garment need pre-shrinking. Confirm that the relaxation or pre-shrinking step has been completed and that the fabric has been re-measured against the marker width before spreading begins.
6. Approved trims and accessories — all received and checked
Work through the BOM line by line:
- Zips: correct gauge, colour, length, and pull type
- Buttons and snaps: correct size, colour, and attachment method
- Labels: care label, brand label, size label — correct language, correct content
- Interlinings and fusibles: correct weight and bond strength for the shell fabric
- Threads: correct ticket number and colour for each seam type
A missing trim at the cutting stage means the cut pieces will sit waiting, which disrupts your line balance and risks fabric damage from storage. Confirm physical receipt, not just a purchase order.
7. Approved marker — correct size ratio, fabric width, and efficiency
The marker must be made against the final, graded pattern set — not a development pattern. Check that:
- The size ratio in the marker matches the order breakdown.
- The marker width matches the usable fabric width (after selvage allowance).
- The grain lines on each pattern piece are correctly aligned.
- Marker efficiency meets your target (the acceptable floor varies by style complexity).
If the marker was generated for a different fabric width than what arrived, it must be remade before spreading.
8. Cutting room setup confirmed
Before spreading begins, walk the cutting room and confirm:
- Spreading tables are clean and long enough for the lay length.
- Spreading machine (if used) is calibrated and the tension is set correctly for the fabric type.
- Cutting equipment — straight knife, band knife, or die — is sharp and appropriate for the ply count and fabric.
- Notchers and drill bits are set to the correct depth.
- End bits and splicing rules are agreed with the spreading team.
9. Line sample displayed on the production floor
Once sewing begins, operators need a physical reference. Display both the buyer-approved sample and a line sample at the workstation or on the production line board. This practice, recommended in ILO Better Work guidance on good practices for apparel production, helps operators and supervisors catch construction deviations before they become systemic.
The pattern for key pieces — collar, cuff, pocket — should also be displayed for reference.
10. Compliance documents and test reports in hand
Do not begin cutting a buyer order without the compliance paperwork that the buyer requires for that shipment. This typically includes:
- Fabric and trim test reports (chemical safety, flammability, colorfastness)
- Factory audit certificate (valid and within expiry)
- Any buyer-specific social compliance or sustainability declarations
Chasing test reports after cutting — or worse, after shipment — puts your entire order at risk of rejection or delay at the destination port. Confirm that every document is received, reviewed, and filed before you authorise cutting.
11. Production schedule and cutting plan aligned
Confirm that the cutting plan — which sizes, how many plies, which rolls — aligns with the production schedule and the sewing line's capacity. A cutting plan that outpaces the sewing line creates cut-piece inventory that is vulnerable to soiling, shrinkage from humidity, and loss. A cutting plan that lags behind starves the line.
Share the cutting plan with the line supervisor and the warehouse team so that cut bundles are routed correctly from the moment they leave the cutting table.
12. Sign-off authority confirmed and documented
Finally: who is authorised to give the go-ahead? In many factories, the production manager, the QA manager, and the merchandiser each have a role in pre-production sign-off. Make sure the sign-off form names each approver, captures their confirmation, and is dated. This creates an audit trail that protects everyone if a dispute arises later.
If your factory uses a digital workflow, the sign-off record should be timestamped and stored against the style number, not just emailed and forgotten.
How to use this checklist in practice
Print or digitise the checklist and assign an owner to each item — not just 'the production team', but a named person. Set a hard deadline: all twelve items must be cleared at least 24 hours before the scheduled cutting start. Any item that cannot be cleared by that deadline triggers an escalation, not a workaround.
Review the checklist at the end of each season and add any recurring issues your team encountered. A checklist that reflects your actual failure modes is worth far more than a generic template.
Trade publications such as WWD and Just Style regularly report on how production delays and quality failures trace back to gaps in pre-production preparation — reinforcing that this discipline matters at every scale, from small studios to large manufacturers.
FAQ
What is a pre-production checklist in garment manufacturing? It is a structured list of gates — sample approvals, document checks, material confirmations — that a production team clears before authorising bulk fabric cutting. Its purpose is to catch errors while they are still cheap to fix.
How early should I start the pre-production checklist? Start at least two weeks before the planned cutting date for a standard order. Items like fabric inspection, test reports, and trim delivery all require lead time. Build the checklist into your critical path, not as a last-day exercise.
What happens if fabric inspection fails before bulk cutting? Quarantine the affected rolls, notify the supplier immediately, and do not cut from them. Depending on the defect type and quantity, you may need to request replacement rolls, negotiate a price adjustment, or revise your cutting plan to avoid defective areas.
Can I cut if one trim item is still on its way? Generally, no. If a critical trim — a zip, a branded label, a fusing — is missing, cut pieces will sit idle and accumulate handling risk. If the trim is genuinely non-critical and you have written buyer approval to proceed, document that decision clearly. Otherwise, wait.
Who should sign off the pre-production checklist? At minimum, the production manager and the QA manager. Many buyers also require a merchandiser or a third-party QA representative to co-sign. Check your buyer's quality manual for their specific requirements.
Further reading
- 7 things you need to know about fabric inspection — Eurofins
- What is a tech pack? — Techpacker
- Good practices for apparel production — ILO Better Work