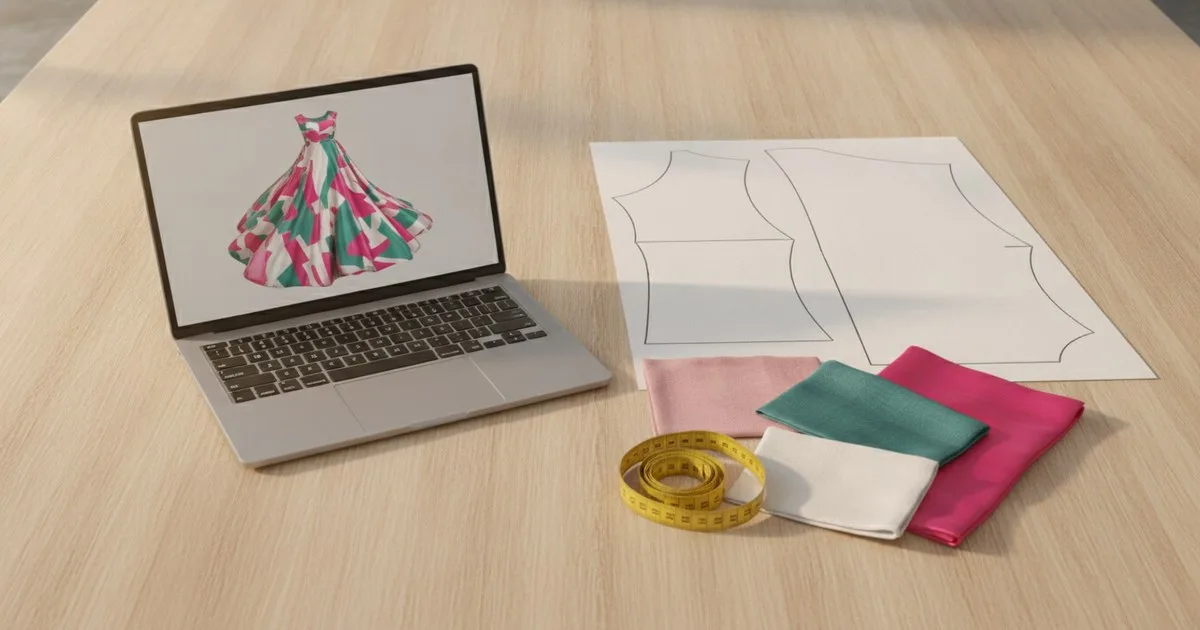
Every physical sample round costs money, time, and material — and most brands run at least two or three before production approval. Integrating 3D garment simulation into your workflow lets you resolve the majority of fit and drape issues on screen, so the physical proto you do send to the factory is close to right the first time. This tutorial walks you through the full process: what to prepare, how to run a virtual fit review, and what your 3D file must contain before it becomes a handover document.
Key takeaways
- Resolving fit issues in 3D before cutting fabric removes the most expensive and time-consuming sample rounds from your calendar.
- A 3D file is only useful to a factory when it is accompanied by a complete tech pack — simulation alone is not a production instruction.
- Research published in early 2026 confirms that virtual simulation technology meaningfully reduces fabric waste and the number of physical samples required.
- The handover package from your 3D review should include annotated screenshots, a revised flat pattern, and updated construction notes — not just the simulation file.
- Fabric data quality is the single biggest variable in whether a 3D simulation predicts real-world drape accurately.
What you need before you start
Before opening any simulation software, make sure the following are in place:
- A graded flat pattern in a compatible format (DXF is the most widely accepted). The pattern should already be checked for seam allowances and notch placement.
- A complete tech pack covering construction details, stitch types, seam finishes, and trim specifications. If your tech pack is incomplete, the 3D review will flag issues you cannot resolve without going back to design.
- Fabric physical data — weight (gsm), stretch percentage, and ideally a digitised fabric preset or measured simulation parameters. Without accurate fabric data, the simulation will not predict drape reliably.
- A fit model or avatar specification that matches your target size and body shape. Document the measurements so the factory can reconcile them against their own dress form.
- Access to a 3D simulation tool. Browzwear VStitcher and Marvelous Designer are the two most widely used in production-facing workflows; both accept DXF patterns and allow physics-based fabric simulation. Choose the one your team or your development partner already has a licence for.
Step 1 — Import your flat pattern and set up the avatar
Action: Import your DXF pattern pieces into the simulation tool and position them around the avatar.
Load each pattern piece into the 3D workspace and arrange it in the correct spatial position relative to the avatar — front bodice in front, back bodice behind, sleeves to the sides. Most tools let you snap pieces to arrangement points; use them to save time. Set the avatar to your target fit model measurements before you simulate.
Expected result: All pattern pieces are visible in the 3D workspace, correctly oriented, with no pieces overlapping or placed on the wrong side of the body.
Note: If your pattern was drafted in a CAD system that uses a different coordinate origin, pieces may import rotated or mirrored. Check each piece individually before running the simulation.
Step 2 — Assign fabric properties
Action: Apply a fabric preset or enter measured physical properties for each pattern piece.
In Browzwear VStitcher, you can load fabric presets from the built-in library or import measured data from a physical fabric test. In Marvelous Designer, you set fabric properties (weight, stretch, shear, bending resistance) manually or via a preset. If you are working with a fabric supplier who uses Seddi Textura, they may be able to provide a digitised fabric file that maps directly into your simulation environment, which removes a lot of guesswork.
Assign different fabric properties to lining pieces, interlining, and shell separately — treating them as a single material is one of the most common sources of inaccurate simulation.
Expected result: Each pattern piece has a distinct fabric assignment. The simulation preview should already show visible differences in stiffness and weight between shell, lining, and any structured pieces.
Warning: Fabric presets from a generic library are a starting point, not a substitute for measured data. If your client has approved a specific fabric, test its physical properties and enter them manually. A simulation that uses the wrong fabric weight will mislead the fit review.
Step 3 — Run the simulation and conduct the virtual fit review
Action: Run the physics simulation, then systematically review fit across all key areas.
Run the simulation and let it settle fully before evaluating — a partially settled simulation will show stress lines and drag that disappear once the fabric reaches equilibrium. Once settled, work through the garment in a consistent order: shoulder, chest, waist, hip, sleeve, hem. Use the stress map overlay (available in both Browzwear and Marvelous Designer) to identify areas of excessive tension or compression. Rotate the avatar through a range of poses — standing, seated, arms raised — to check ease and mobility.
Document every issue you find with a screenshot and a written note. Annotate the screenshot directly in the tool if possible, or in a shared document. Note the pattern piece, the location on the body, and the nature of the problem (e.g., "CB seam pulling at waist — ease insufficient").
Expected result: A written and visual record of every fit issue, with enough detail for your pattern maker to act on each one without a follow-up conversation.
Step 4 — Iterate in 3D before touching physical fabric
Action: Correct pattern pieces in your CAD system, re-import, and re-simulate until the virtual fit meets your standard.
This is the step that removes sample rounds. For each issue identified in Step 3, make the pattern correction in your CAD tool, export a revised DXF, and re-import it into the simulation. Re-run the simulation and check the specific area that was corrected. Repeat until the stress map is clean and the silhouette reads correctly.
Keep a version log of each iteration — date, what changed, and what the result was. This log becomes part of your handover package and helps the factory understand why the pattern looks the way it does.
Expected result: A version of the pattern that passes your virtual fit standard, with a documented iteration history. Most teams find they can resolve the majority of structural fit issues — ease, silhouette, balance — in two or three 3D iterations.
Note: 3D simulation is highly reliable for structural fit: ease, silhouette, seam balance, and grain line. It is less reliable for fine details like topstitch placement, buttonhole spacing, and certain woven textures. Plan to verify those on the physical proto.
Step 5 — Build the handover package
Action: Compile everything the factory needs to produce a physical proto that reflects your 3D-approved design.
A 3D simulation file alone is not a production instruction. The factory needs a complete package:
- Revised flat pattern (DXF), incorporating all corrections made during the 3D iteration process.
- Updated tech pack with any construction notes changed as a result of the 3D review. If you changed a seam allowance, adjusted a dart, or altered a hem depth, the tech pack must reflect it.
- Annotated 3D screenshots showing the approved silhouette from front, back, and side, plus any detail views relevant to construction. Label each view clearly.
- Avatar/fit model specification — the measurements used in the simulation, so the factory can reconcile them against their dress form.
- Fabric specification — the gsm, fibre content, and stretch percentage of the fabric used in the simulation, so the factory sources the closest available equivalent for the proto.
- A clear list of what the physical proto should confirm — the items you know 3D cannot fully validate (topstitch, hardware, certain trims).
A well-structured tech pack is the foundation of this package. If you want a reference for what a complete tech pack should contain, the guide at White Label Manufacturing covers the core components clearly.
Expected result: A single folder or shared workspace containing all the above, with a cover sheet that states the garment reference, the iteration version, the date, and the specific questions the physical proto is being made to answer.
Step 6 — Review the physical proto against the 3D benchmark
Action: When the physical proto arrives, compare it systematically against your approved 3D screenshots.
Place the physical sample on a dress form matching your avatar spec and photograph it from the same angles as your 3D screenshots. Compare them side by side. Note any discrepancy and classify it: is it a pattern issue, a fabric substitution issue, or a make issue? Each type of discrepancy has a different resolution path.
If the proto matches the 3D benchmark on all structural points and only requires minor make corrections, you have effectively replaced a full sample round with a set of written comments. If there are structural discrepancies, investigate whether they stem from fabric differences before requesting a pattern change.
Expected result: A structured comparison report that either approves the proto for the next stage or identifies specific, categorised corrections — with no ambiguity about what needs to change and why.
Troubleshooting common issues
The simulation looks right but the physical sample does not match. The most likely cause is a fabric substitution. If the factory used a different weight or weave structure, the drape will differ even with a correct pattern. Ask for the fabric spec used in the proto and compare it to your simulation parameters. Adjust the simulation to match the actual proto fabric before concluding there is a pattern error.
Pattern pieces import with incorrect seam allowances. Some CAD systems export DXF with seam allowances included; others export the net pattern. Check which your export contains and configure the simulation tool to match. Simulating with double seam allowances will produce a garment that reads as too large.
The simulation takes a very long time to settle. High piece counts and very fine mesh settings slow simulation significantly. For a first-pass fit review, reduce the mesh density — you can increase it for final approval renders. Also check that you are not simulating unnecessary internal structure (interfacing, boning) at full resolution when a simplified representation will do.
The stress map shows tension everywhere. This usually means the avatar is larger than the pattern's intended fit model, or the ease allowances are too tight for the fabric properties assigned. Check your avatar measurements against the garment's target measurements before adjusting the pattern.
The factory says the 3D screenshots are not clear enough to work from. Render final approval views at high resolution with the avatar in a neutral pose and a plain background. Add dimension callouts to any area where construction detail matters. If the tool allows it, export an interactive 3D file rather than flat screenshots — some factories can open these directly.
What success looks like
When this workflow is running well, your first physical proto should be a confirmation sample, not a problem-finding exercise. The structural fit — ease, balance, silhouette, grain — should be close to approved. The proto review focuses on make quality, fabric handle, and the details that 3D cannot fully replicate. You send one round of written comments, approve the second proto, and move to pre-production.
The wider industry is moving in this direction: conversations at PI Apparel New York in 2026 centred on how digital product creation and connected workflows are solving real production problems, and reducing sample rounds is consistently near the top of the list.
FAQ
Can 3D simulation replace physical samples entirely? Not yet, for most production contexts. It reliably replaces the early structural rounds — where fit, ease, and silhouette are resolved — but physical samples are still needed to confirm fabric handle, make quality, hardware, and trim details that simulation does not fully replicate.
Which simulation tool should a production team start with? Browzwear VStitcher is the more common choice in brand and manufacturer production workflows, with strong PLM connectivity. Marvelous Designer, now part of CLO Virtual Fashion, is widely used in design-led studios and has a shorter learning curve for pattern-based work. The right choice depends on your existing toolchain.
How accurate does fabric data need to be for a useful simulation? Useful enough to distinguish between a stiff woven and a soft jersey. For structural fit review, a well-chosen preset is often sufficient. For drape-critical garments — bias cuts, fluid silhouettes — measured physical data makes a significant difference to simulation accuracy.
What file format should the pattern be in for 3D simulation? DXF is the most universally accepted format across simulation tools. Make sure your export includes grain lines, notches, and piece labels, and confirm whether seam allowances are included or excluded before importing.
How do I communicate 3D approval to a factory that does not use 3D tools? High-resolution annotated screenshots, a complete revised tech pack, and a clear written summary of what the physical proto is being made to confirm. The factory does not need to open a 3D file — they need the information that came out of the 3D review.
Further reading
- Research on improving the efficiency of garment sample production through virtual simulation (ACM, 2026)
- The True Cost of Physical Sampling — imai.studio
- The Ultimate Guide to Tech Packs in Clothing — White Label Manufacturing