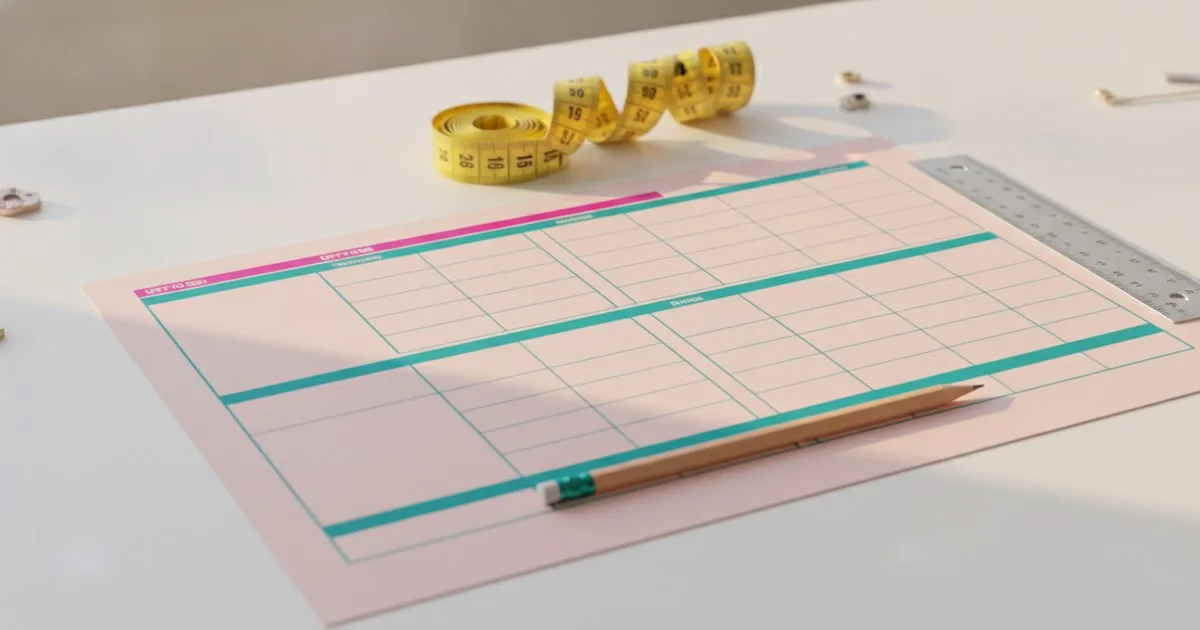
A measurement chart tells your factory what dimensions a finished garment must hit. Tolerances tell them how much deviation is acceptable before a piece fails inspection. Get the tolerances wrong — too tight and you generate unnecessary rework; too loose and you ship product that fits badly — and the measurement chart becomes a source of friction rather than a resolution to it. This guide covers how to define your points of measure (POMs), how to calibrate tolerances by garment category, and how to document everything so your quality control team and factory are reading from exactly the same page.
Key takeaways
- Every POM needs both a target measurement and a tolerance; a target alone is not a specification.
- Tolerances are not universal: a woven trouser waistband demands tighter control than a jersey hem, and your chart should reflect that.
- Inconsistent or missing tolerances are one of the most common causes of failed first inspections and costly re-sampling.
- Documenting the measuring method (flat, doubled, stretched) alongside each POM removes the single biggest source of factory-to-lab discrepancy.
- PLM tools and dedicated tech pack software can enforce tolerance fields as mandatory, reducing the chance of a chart leaving your desk incomplete.
What is a measurement chart in a tech pack?
A measurement chart — sometimes called a spec sheet or grading chart — is the page in your tech pack that lists every critical dimension of a garment, the size it applies to, and the acceptable range around that dimension. It is the contractual reference point for your factory's in-line and final inspections, and for any third-party QC audit.
A well-structured tech pack contains several components — construction details, BOM, colorways — but the measurement chart is the one that determines whether a finished garment passes or fails. Without it, every inspection becomes a negotiation.
What are points of measure (POMs) and how do you choose them?
A point of measure is a specific location on a garment where a dimension is taken. Choosing the right POMs is the first decision you make when building a measurement chart, and it shapes everything that follows.
How to select your POMs
Start with the dimensions that control fit and silhouette. For most garments that means:
- Chest / bust (measured flat, one inch below armhole)
- Waist (at the narrowest point, or at a fixed distance from a seam)
- Hip (at the fullest point, or at a fixed distance from waistband seam)
- Front / back length (from a fixed reference point, usually HPS — high point shoulder)
- Sleeve length (from shoulder seam to cuff edge)
- Inseam (for trousers)
- Across shoulder (seam to seam)
- Armhole (straight or curved, specified)
- Neck opening (front drop, back drop, width)
- Opening widths (hem, cuff, collar)
Beyond those core dimensions, add any POM that is structurally critical for your specific garment: a biker jacket needs a zipper length POM; a pair of trousers needs a rise measurement; a shirt needs collar point length. The rule of thumb is: if a deviation in that dimension would make the garment unsellable or unwearable, it belongs on the chart.
ISO 8559-1:2017, the international standard for size designation of clothes and anthropometric body measurement, provides a comprehensive reference list of body and garment measurement definitions. It is worth having on hand when you are deciding how to name and define each POM, especially if you are working with factories across different markets.
Naming and describing each POM
Every POM entry should include:
- A number or code (e.g., POM 01, POM 02) for unambiguous reference
- A plain-language name (e.g., "Chest — measured flat")
- A measuring instruction (how to position the tape, whether to measure flat or doubled, whether the garment is relaxed or stretched)
- A callout on the technical flat pointing to the exact location
The measuring instruction is the detail most often left out, and it is the detail that causes the most disagreement. If your spec says "chest: 52 cm" and your factory measures doubled while your QC lab measures flat, you will get a 4 cm discrepancy on a measurement that should have zero ambiguity.
How do you set the right tolerance for each POM?
A tolerance is the permitted deviation above and below the target measurement. It is written as ± [value], or as separate + and − values when the deviation is asymmetric (more common than you might expect on structured garments).
The factors that determine tolerance width
Fabric construction and behaviour. Woven fabrics — denim, canvas, poplin — have low stretch and can be cut and sewn to tighter tolerances. Knits and jersey fabrics relax, grow, and recover; they need wider tolerances to avoid generating false failures. A ±0.5 cm tolerance on a jersey chest is unrealistic; ±1.5 cm is more defensible.
Garment category and end use. Tailored and structured garments (blazers, formal trousers, outerwear with precise silhouettes) need tighter tolerances because a 2 cm deviation in chest or shoulder is visible and affects drape. Casualwear and activewear can accommodate more variation, particularly at hems and sleeve openings.
The POM's role in fit. Chest, waist, and hip are primary fit POMs — they determine whether a garment fits a body. Hem width, pocket placement, and logo position are secondary — they affect appearance but rarely make a garment unwearable. Primary fit POMs get tighter tolerances; secondary POMs can be slightly wider.
Construction method. A felled seam on a denim jean is more dimensionally stable than a serged seam on a jersey top. The more controlled the construction, the tighter the tolerance you can realistically hold.
Typical tolerance ranges by garment category
These are working ranges used across the industry, not absolute rules. Adjust them based on your fabric, your factory's capability, and your quality tier.
| Garment category | Primary fit POM (chest, waist, hip) | Secondary POM (hem, sleeve opening) | Length POMs |
|---|---|---|---|
| Tailored / structured wovens | ±0.5 – 0.8 cm | ±0.8 – 1.0 cm | ±0.5 – 1.0 cm |
| Casual wovens (shirts, chinos) | ±0.8 – 1.0 cm | ±1.0 – 1.5 cm | ±1.0 – 1.5 cm |
| Jersey / knit tops | ±1.0 – 1.5 cm | ±1.5 – 2.0 cm | ±1.0 – 1.5 cm |
| Activewear / stretch | ±1.5 – 2.0 cm | ±2.0 cm | ±1.0 – 1.5 cm |
| Denim bottoms | ±0.5 – 0.8 cm (waist) | ±1.0 cm | ±0.5 – 1.0 cm |
For grading across sizes, tolerances typically remain constant per POM rather than scaling with the grade increment — but it is worth specifying this explicitly in your chart header if your factory works across multiple size ranges.
FIT's technical design resources, including grading and sizing standards references, note that grade rules, measurement charts and garment specifications are closely linked: a tolerance that is narrower than your grade increment at a given POM will generate failures at the size extremes almost by definition. Check that your tolerances are compatible with your grade rules before you send the spec.
Asymmetric tolerances
Not every POM needs a symmetric ±. A waistband that runs small is a fit failure; one that runs slightly large may be acceptable. A collar stand that is too tall looks wrong; one that is fractionally shorter may pass. In those cases, write the tolerance as +0 / −0.5 cm or +0.5 / −0 cm, and note the rationale in your chart comments. Factories appreciate the clarity; it avoids arguments at audit.
How do you document tolerances in the measurement chart?
Structure matters as much as the numbers. A measurement chart that is hard to read is a measurement chart that gets misread.
Recommended chart structure
Your chart should have, at minimum, these columns:
- POM number — sequential reference code
- POM name — plain-language description
- Measuring method — flat / doubled / stretched; tape position
- Target measurement — for your base size (state which size)
- Tolerance (+) — maximum acceptable above target
- Tolerance (−) — maximum acceptable below target
- Actual measurement — left blank for the factory / QC team to fill in
- Pass / Fail — a column the factory completes at inspection
- Comments — any POM-specific notes (e.g., "measure relaxed after 24h off the form")
If you are working across a full size run, add a column per size for the graded target measurements, keeping the tolerance columns constant (or noting any size-specific tolerance adjustments).
Where the chart lives in the tech pack
The measurement chart typically sits after the construction details and before the trim and BOM pages. It should reference the technical flat on the same spread, with numbered callouts matching your POM numbers. Any inspector picking up the tech pack should be able to locate a POM, find its callout on the flat, and take the measurement without asking a question.
Using software to enforce completeness
One practical problem with spreadsheet-based measurement charts is that fields get left blank — a tolerance column skipped, a measuring method omitted. Dedicated tech pack tools can make tolerance fields mandatory, so a chart cannot be marked complete until every POM has a target and a tolerance.
Techpacker offers a tech pack editor that structures measurement tables with defined fields, reducing the chance of an incomplete spec reaching your factory. For brands managing larger product ranges and needing to connect measurement data to broader product lifecycle workflows, Centric PLM — part of Dassault Systèmes — provides an AI-powered PLM platform where spec sheets, grading data, and QC results sit in a single connected system. BeProduct is a SaaS PLM option that includes tech pack management and sample tracking, suited to emerging brands that want centralised product data without a large-enterprise implementation.
Whichever tool you use, the principle is the same: the measurement chart is a live document. It should be version-controlled, with each revision dated and the change noted (e.g., "v3: waist tolerance widened from ±0.5 to ±0.8 cm following proto feedback").
What goes wrong when tolerances are set incorrectly?
Understanding the failure modes helps you calibrate your decisions.
Tolerances too tight for the fabric or construction. You will generate high failure rates at inspection, trigger unnecessary re-cutting or rework, and push your factory to either absorb cost or argue for tolerance relaxation mid-production. The result is delays and a strained relationship.
Tolerances too loose. Garments that should fail pass inspection. Size consistency across a production run degrades. Customer returns increase, and fit complaints are hard to trace back to a specific cause because the spec technically allowed the variation.
Missing tolerances. The factory defaults to its own internal standards, which may not match yours. You have no contractual basis to reject a garment that fails your unstated expectation. This is the most common scenario in early-stage brands working from incomplete specs.
Inconsistent measuring methods. Your QC lab measures flat; the factory measures doubled. A 2 cm discrepancy on a chest measurement looks like a production error when it is actually a documentation error. Fixing it requires a conversation that should never have been necessary.
Tolerances not aligned with grade rules. As noted above, a tolerance narrower than the grade increment at a given POM will produce systematic failures at the size extremes. This is a design error in the spec, not a factory error, and it is expensive to discover at final inspection.
A step-by-step process for building your measurement chart
What you need before you start:
- A finalised technical flat for the garment
- Your base size and full size run
- Fabric composition and construction method confirmed
- Your grade rules (or a grading reference)
- Access to your tech pack tool or template
Step 1. List every dimension that controls fit and silhouette. Start with the standard POMs for your garment category, then add any category-specific or design-specific dimensions.
Step 2. Number each POM and add a callout to the technical flat. Every POM number on the chart must have a matching callout on the drawing.
Step 3. Write the measuring method for each POM. Be specific: "measure flat, from seam to seam, tape parallel to hem" is a measuring method. "Chest" is not.
Step 4. Enter target measurements for your base size. If you are working from a proto or a fit sample, use the approved measurements from your last fit session as the target.
Step 5. Set tolerances for each POM using the category and fabric guidelines above. Flag any POMs where you are applying asymmetric tolerances and note the reason.
Step 6. Grade the target measurements across your full size run, keeping tolerances constant unless you have a specific reason to adjust them at a size extreme.
Step 7. Review the chart against your grade rules. Check that no tolerance is narrower than the grade increment at the same POM.
Step 8. Version the chart, send it to your factory with the full tech pack, and request written confirmation that the measuring methods are understood before sampling begins.
What is still unsolved in tolerance documentation?
Even with a well-built measurement chart, a few problems persist across the industry.
3D-to-2D translation. As more brands use 3D simulation tools during development, the measurements taken in a virtual environment do not always translate directly to physical garment measurements taken on a flat table. The relationship between a 3D body measurement and a flat garment measurement at the same POM is not always linear, and there is no widely adopted standard for bridging the two.
Stretch and recovery testing. For knit and activewear garments, a flat measurement captures only one state of the fabric. A garment that passes a flat chest measurement may still fail a wear test if the fabric's recovery is poor. Tolerances for stretch fabrics arguably need to be paired with a recovery specification, but most measurement charts do not include one.
Factory capability data. Setting a tolerance of ±0.5 cm is only meaningful if you know your factory can hold ±0.5 cm on that construction. Brands that share capability data with their manufacturers — and adjust tolerances accordingly — tend to have fewer inspection failures. Most brands do not have that data, and most factories do not volunteer it.
These are open problems. Addressing them requires closer collaboration between technical designers, factories, and QC teams than most current workflows allow.
FAQ
What is the difference between a tolerance and a grade increment? A grade increment is the planned difference in a measurement between adjacent sizes. A tolerance is the acceptable deviation from the target at a single size. They are independent values, but if your tolerance is wider than your grade increment, adjacent sizes will overlap — meaning a large could measure the same as a medium.
How many POMs should a typical garment have? A basic T-shirt might have 8–12 POMs; a tailored jacket might have 20–30. The number should reflect the complexity of the garment and the number of dimensions that, if wrong, would make the garment unwearable or unsellable. More is not always better — every POM is a measurement the factory must take at inspection.
Should tolerances be the same across all sizes in a size run? Usually yes, unless you have evidence that a specific size extreme is harder to hold. Keeping tolerances constant simplifies inspection and avoids confusion. If you do vary tolerances by size, document the reason in the chart comments.
What happens if a garment fails one POM but passes all others? That depends on your AQL (acceptable quality level) protocol and the criticality of the POM. A failure on a primary fit POM (chest, waist) is typically a hard reject. A failure on a secondary POM (pocket placement, logo position) may be handled as a minor defect. Define these categories in your tech pack so the factory and QC team are applying the same criteria.
Can I use the same measurement chart template across different garment categories? You can use the same structure, but the POMs and tolerances must be specific to each garment type. A trouser chart and a jacket chart share a format but almost no POMs. Reusing a template without updating the POMs and tolerances for the specific garment is one of the most common causes of incomplete specs.
How do I handle a POM where the factory and my QC lab consistently disagree? First, check whether the measuring method is written clearly enough. Most persistent discrepancies come from ambiguous instructions rather than factory error. If the method is clear and the discrepancy continues, consider adding a physical measurement reference — a measurement diagram with a photo or a detailed illustration — to the tech pack.
Further reading
- ISO 8559-1:2017 — Size designation of clothes: Anthropometric definitions for body measurement
- Grading / Sizing / Standards — FIT LibGuides: Technical Apparel Design
- What Is a Tech Pack? The Complete Fashion Guide — Techpacker