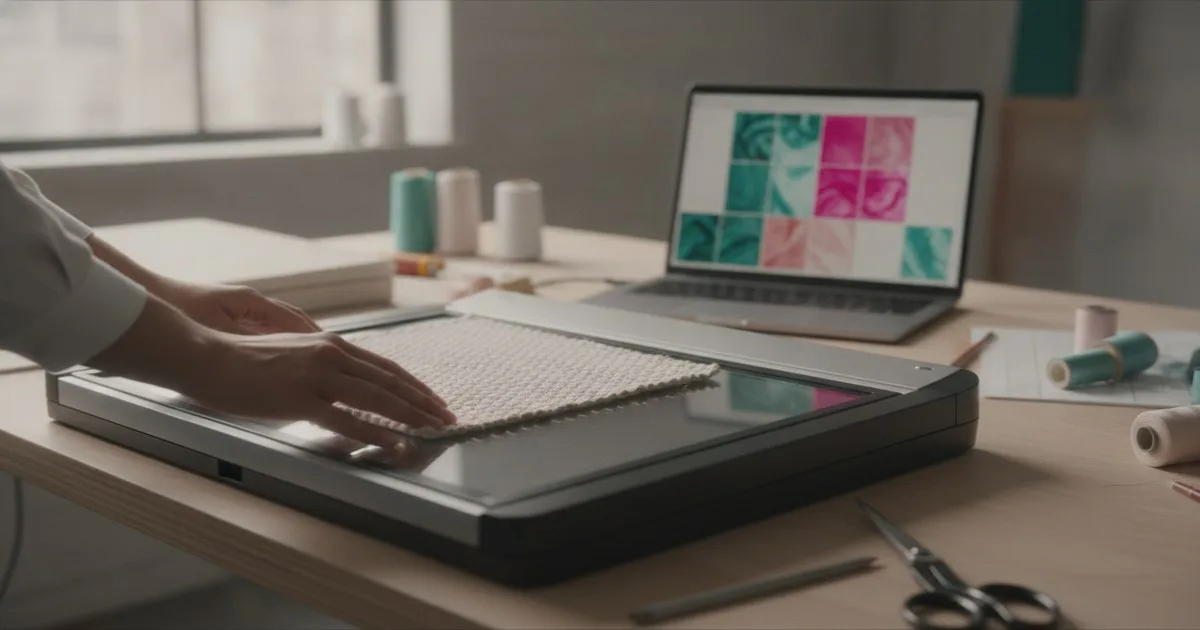
If your team is still emailing JPEG swatches to 3D developers and wondering why the simulated fabric looks nothing like the real thing, the gap is almost always in the material data — not the 3D tool. Vizoo's xTex system closes that gap by capturing a fabric's surface appearance and physical properties in a format that 3D simulation engines can actually use. This walkthrough takes you through the full process, from handling the physical swatch to exporting a calibrated material file ready for simulation.
Key takeaways
- Accurate 3D drape depends on calibrated PBR texture maps and physical fabric properties — a JPEG scan is not enough.
- Vizoo xTex captures colour, surface normal, roughness, and repeat data in a single scanning session, trimming hours of manual Photoshop tiling work.
- The resulting files integrate directly with 3D tools including Browzwear VStitcher, giving you simulation-ready materials without format conversion.
- Swatch preparation is the step most teams underestimate — wrinkles and contamination affect every downstream output.
- A consistent digitisation protocol, applied at the fabric sourcing stage, builds a reusable material library that pays dividends across multiple seasons.
Why does fabric digitisation matter for production teams?
Physical sampling is expensive and slow. Every time a 3D developer has to guess at a fabric's sheen, stretch, or drape because the source file is a flat photo, they are making a creative decision that should have been an engineering one. The result is approval rounds that go back and forth, and physical samples that arrive looking different from the 3D sign-off.
Material digitisation solves this at the source. When a fabric is scanned properly — capturing its colour response under standardised light, its surface micro-geometry, and its physical behaviour — the 3D simulation can reproduce how that specific fabric will hang on a body, catch light at an angle, or bunch at a seam. That fidelity is what makes a 3D sample useful as a decision-making tool rather than just a visualisation.
As The Interline has noted, global partnerships between brands and suppliers increasingly depend on digital material data — a physical swatch sent by courier is no longer a reliable substitute for a calibrated digital file that both sides can open in the same tool.
What does Vizoo xTex actually capture?
The xTex system combines a high-resolution scanner with software that processes the raw capture into production-ready outputs. In a single session it produces:
- Colour / albedo map — the fabric's diffuse colour under calibrated, neutral light.
- Normal map — surface micro-geometry that tells the renderer which way each point on the fabric faces, giving you the appearance of weave structure without adding polygon complexity.
- Roughness / specular map — controls how light scatters across the surface, distinguishing a matte cotton from a satin or a technical ripstop.
- Seamless tiled texture — xTex's pattern recognition algorithms identify the fabric's repeat and create a seamless tile automatically, replacing what would otherwise be hours of manual work in image editing software.
Vizoo also ships the physX platform alongside xTex for capturing physical fabric properties — weight, bending stiffness, stretch — which feed the simulation engine's physics solver rather than its renderer. For a complete digital twin of a fabric, you need both the visual and physical data.
What you need before you start
Equipment and materials
- Vizoo xTex scanner (hardware unit)
- xTex software installed and calibrated
- Physical fabric swatches, minimum size per Vizoo's current specification for your fabric type
- A lint roller and a flat, clean surface for swatch preparation
- A colour reference card if your workflow requires cross-device colour matching
- Export destination folder with a clear naming convention agreed across your team
Team alignment
- Agree on file naming before the first scan: season, supplier code, fabric reference, colourway. Retrofitting a naming convention to a library of hundreds of files is painful.
- Decide which 3D tools the output needs to feed. Browzwear VStitcher, for example, accepts Vizoo's native export format directly — confirm the target tool's requirements before you start.
Step-by-step: from swatch to simulation-ready file
Step 1 — Prepare the swatch
This is the step teams most often rush, and it is the one that affects every output downstream.
- Remove the swatch from storage and allow it to rest flat for at least 30 minutes. Folded or rolled fabric carries a memory that distorts the surface geometry the scanner reads.
- Use a lint roller to remove fibres, dust, and loose threads. A single stray fibre crossing the repeat area will appear in the normal map.
- Lay the swatch face-up on a flat surface and smooth it by hand, working from the centre outward. Do not stretch it — you want the fabric in its natural relaxed state.
- Check for any stains, press marks, or handling damage. If the swatch is not representative of production fabric, flag it now rather than after scanning.
Step 2 — Place the swatch in the scanner
- Open the xTex scanner lid and place the swatch face-down on the scanning bed, aligning it with the registration marks.
- Ensure the swatch lies flat against the glass without air pockets. For loosely woven or textured fabrics, apply gentle, even pressure across the surface.
- Close the lid carefully. Do not force it — any pressure that distorts the weave will show in the surface capture.
Step 3 — Run the scan in xTex software
- In xTex, create a new project and assign your agreed naming convention: season / supplier / fabric reference / colourway.
- Select the scan profile appropriate for your fabric category. Vizoo provides profiles tuned for different fabric weights and surface types — a fine silk requires different settings than a heavy canvas.
- Initiate the scan. The software captures multiple passes under controlled lighting to separate colour, surface normal, and specular data.
- Review the raw capture on screen before proceeding. Look for any areas where the fabric lifted from the glass, visible as blurred or distorted zones. If you see them, rescan.
Step 4 — Process the texture in xTex
- Once the scan is accepted, run the automatic repeat detection. xTex identifies the fabric's structural repeat — woven grid, knit loop, print tile — and proposes a crop.
- Review the proposed repeat boundary. For complex jacquards or irregular prints, you may need to adjust the crop manually. The software provides handles for this.
- Run the seamless tiling algorithm. xTex blends the edges of the repeat so the texture tiles without visible seams in the 3D environment. Check the tiled preview — zoom in to the join lines and verify there are no ghosting artefacts.
- Adjust colour calibration if your workflow uses a reference card. xTex allows you to correct the albedo map against a known colour target to ensure consistency across scanner sessions and across different physical environments.
Step 5 — Export the material package
- Select your export format. For Browzwear VStitcher, export as a native Vizoo package or as the format specified in your studio's integration setup — VStitcher reads Vizoo material files directly, preserving all map channels without manual reassignment.
- Export the full map set: albedo, normal, roughness, and any additional channels your 3D tool uses (height, opacity for sheers).
- Include the physX physical property data in the export if you have captured it. Without physical properties, the simulation engine will fall back to its own defaults, which may not match your fabric's actual drape behaviour.
- Write the export to your agreed folder structure and confirm the file names match your naming convention before closing the project.
Step 6 — Validate in the 3D environment
- Import the material package into your 3D tool. In Browzwear VStitcher, this is a drag-and-drop or import-from-library operation.
- Apply the material to a test garment — a simple bodice or trouser block works well — and run a simulation.
- Check four things: colour accuracy against the physical swatch under the same light source; surface texture appearance at close range and at distance; drape behaviour at the hem and sleeve; and tiling seam visibility on large flat panels.
- If any of these fail, return to xTex and adjust the relevant parameter — repeat crop, colour calibration, or physical property values — rather than correcting in the 3D tool. Corrections made in the 3D tool are not stored in the material file and will be lost the next time the file is used.
How do the files integrate with 3D simulation tools?
Browzwear VStitcher is one of the most widely used 3D garment simulation platforms in production environments, and it accepts Vizoo material exports natively. When you import a Vizoo package, VStitcher maps each texture channel to the corresponding slot in its material model automatically — you do not need to manually assign the normal map or roughness map. The physical properties from physX feed VStitcher's fabric physics solver, which means the simulated drape reflects the actual stiffness and weight of the scanned fabric rather than a generic preset.
This direct integration matters in a production context because it removes a translation step that is otherwise a source of error. When a 3D developer has to manually interpret a scan and rebuild a material from scratch, they are making judgement calls. When the material file carries calibrated data, the simulation is repeatable — the same file will produce the same result in any seat of VStitcher, which is essential for distributed teams working across studios or time zones.
For teams that also manage a digital material library, Swatchbook — now part of CLO Virtual Fashion's ecosystem — offers a cloud-based platform for organising, visualising, and sharing digital materials across a brand's supply chain, with 2D and 3D visualisation and collaboration tools that complement a scanning workflow.
What can go wrong — and how to avoid it
| Problem | Likely cause | Fix |
|---|---|---|
| Visible seam lines in tiled texture | Repeat crop set incorrectly | Adjust crop handles manually; re-run tiling |
| Normal map looks flat or noisy | Fabric lifted from scanner glass | Rescan with swatch pressed flat |
| Colour in 3D doesn't match physical swatch | No colour calibration reference used | Use a colour reference card; recalibrate albedo |
| Drape behaviour doesn't match fabric feel | physX data missing from export | Capture physical properties and include in export |
| Files can't be found after export | No agreed naming convention | Define and enforce naming before first scan |
Building a reusable material library
A single scanning session produces one material file. A consistent scanning protocol, applied every time a new fabric is sampled, produces a library. That library is where the real return on investment appears: when a fabric from a previous season is recoloured, you already have the surface geometry and physical properties — only the albedo map needs updating. When a supplier sends a new colourway of an existing construction, the scan takes minutes rather than hours because the repeat and physical profile are already established.
Organise your library by fabric construction first, then colourway. Store the raw xTex project files alongside the exports so you can re-export to a new format if your 3D tool changes. And document the scan settings used for each fabric category — if a new team member runs the scanner differently, you want to be able to identify the source of any inconsistency.
FAQ
What file formats does Vizoo xTex export for use in 3D garment software? xTex exports calibrated PBR texture maps — albedo, normal, roughness — in standard image formats, plus native material packages that tools like Browzwear VStitcher import directly. Check your specific 3D tool's documentation for the exact format it expects.
Do I need the physX hardware as well as xTex to get accurate drape simulation? For visual accuracy — colour, surface texture, sheen — xTex alone is sufficient. For accurate drape behaviour, you also need physical property data (weight, bending stiffness, stretch). Without it, the simulation engine uses its own defaults, which may not match your fabric.
How large does a swatch need to be for a useful scan? Vizoo specifies minimum swatch sizes by fabric type. As a general rule, you need at least two full repeats of the fabric's structural pattern in each direction. Check the current xTex documentation for your fabric category.
Can I scan a fabric that has already been cut and sewn? Scanning a flat swatch before cutting gives the cleanest result. Sewn panels carry seam distortion and handling marks that affect the surface capture. If you must scan a sewn sample, choose an area well away from any seam or fold line.
How do I share digitised materials with a supplier or external 3D studio? Export the full material package — all map channels plus physical property data — and share via a cloud folder or a digital material platform. Agree on the naming convention and format with the receiving team before the first transfer so there is no ambiguity about which file corresponds to which physical fabric.
Further reading
- xTex Software Solutions for Fast Digitization Workflows — Vizoo
- Digitization: How 3D supports the fabric creation and selling process — The Interline